Setting up EVRYTHNG
Diving into the walkthrough, we're going to start with setting up all the required objects inside the EVRYTHNG Platform. The objects we need in the system are:
- A project, which allows us to scope information sent between a user's Nest Home account and the EVRYTHNG Platform.
- An application, which further scopes activity for Application Users.
- A test user, representing someone who has a Nest Home account.
- A Thng to represent the Raspberry Pi.
After this is done as shown below, we'll be ready to connect with Nest.
## Create a project
The EVRYTHNG platform allows you to organize access to your devices in different projects and applications. To be able to create the containers for the Nest devices and set up the cloud-to-cloud connection, you'll need to first create a project and an application.
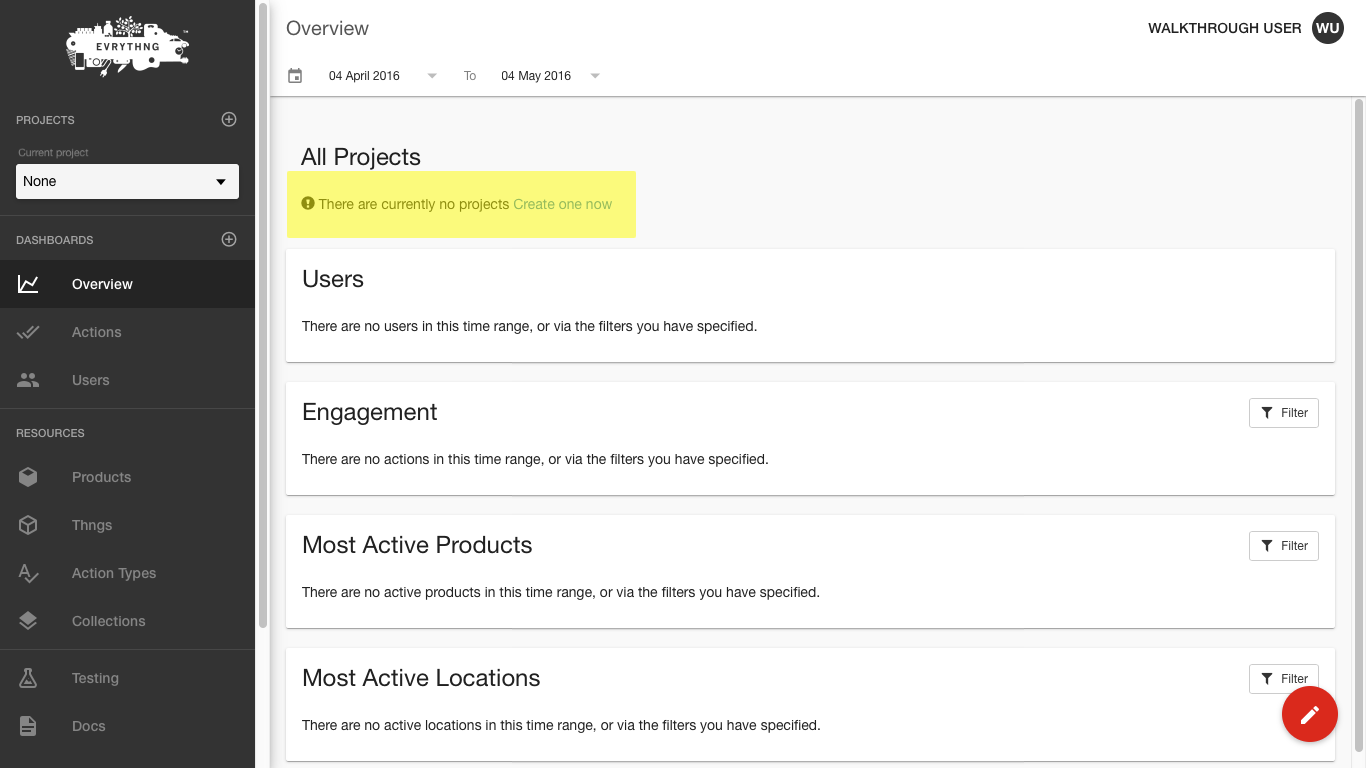
To create a new project, open the Dashboard and click on the plus symbol next to the 'Projects' side menu item from the Overview screen.
This brings up the 'Create project' dialog. Provide the following:
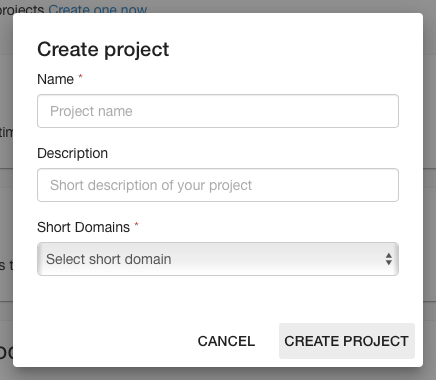
- A name for the project (e.g. Works with Nest Walkthrough)
- A description for the project (e.g. Sample project connecting EVRYTHNG to Nest Home)
- Select one of the available short domains from the drop-down menu -- this is not needed right now.
- Click the 'Create Project' button.
Now you should see the following screen with the project details:
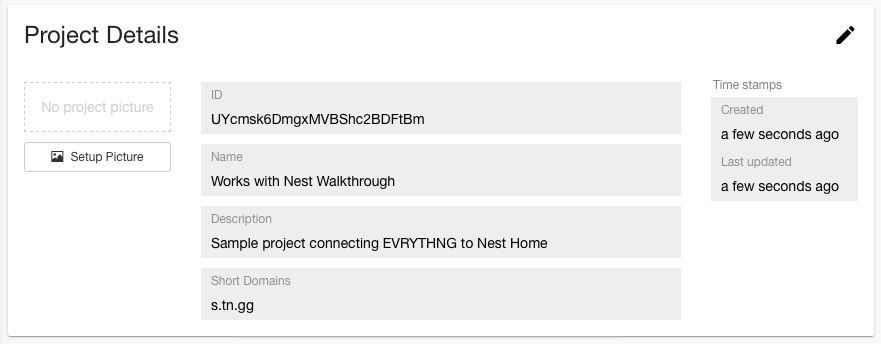
Congratulations, you now have your first EVRYTHNG project!
NoteMake a note of the project's ID - we will use it in the process of connecting Nest Home with the EVRYTHNG Platform later on.
Create an Application
After creating the project, we need to create an application inside the project. Applications allow you create users that create or own objects and actions inside the EVRYTHNG Platform. For a user or device to be able to access another device, they have to be scoped to the same project and application.
With the 'Works with Nest Walkthrough' project selected in the 'Current project' box, start by clicking 'Applications' on the left side navigation.
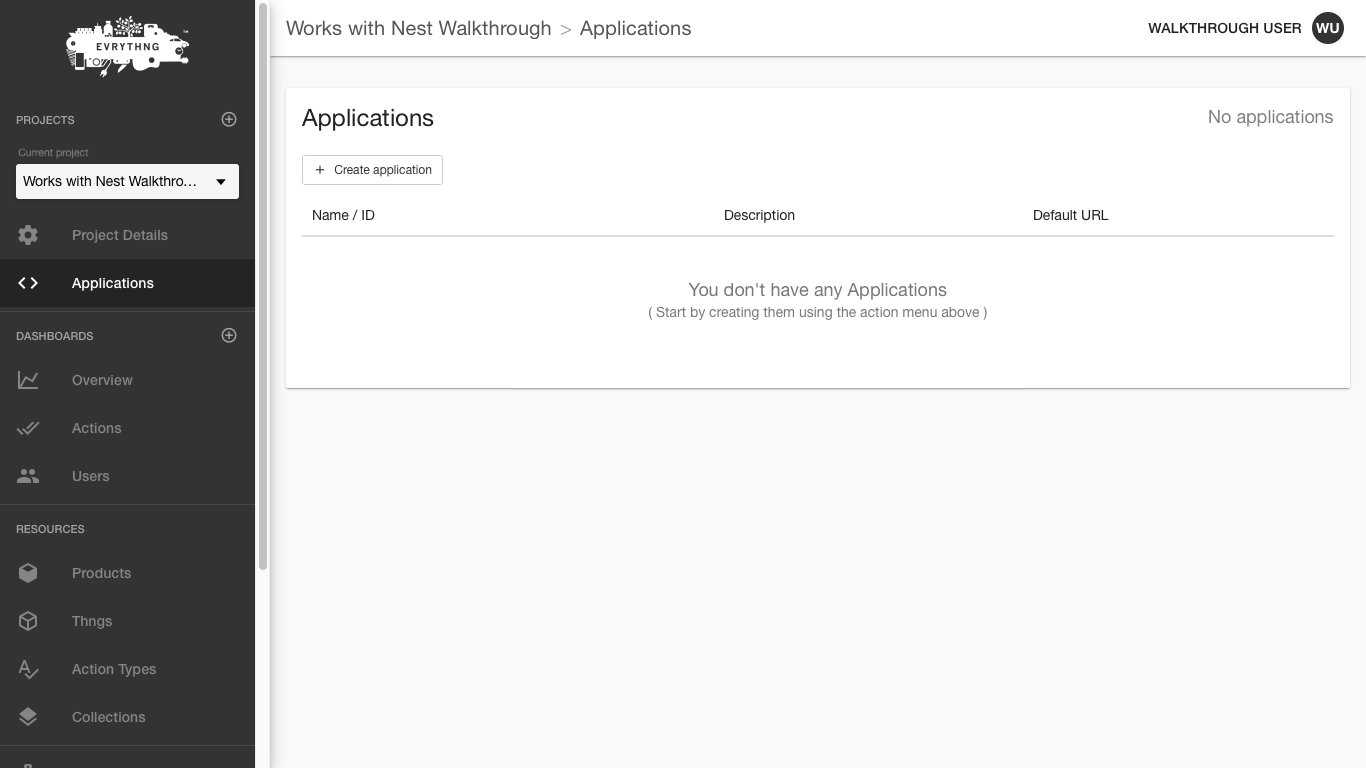
Click on 'Create application' and enter a name for the application -- here we’ve used 'Works with Nest Walkthrough Application'. The other details are optional for this walkthrough.
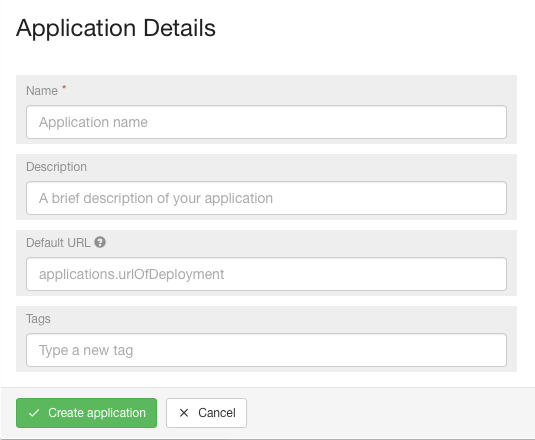
Click 'Create application' and a new application under the selected project will be created. You should see now the Application Details page.
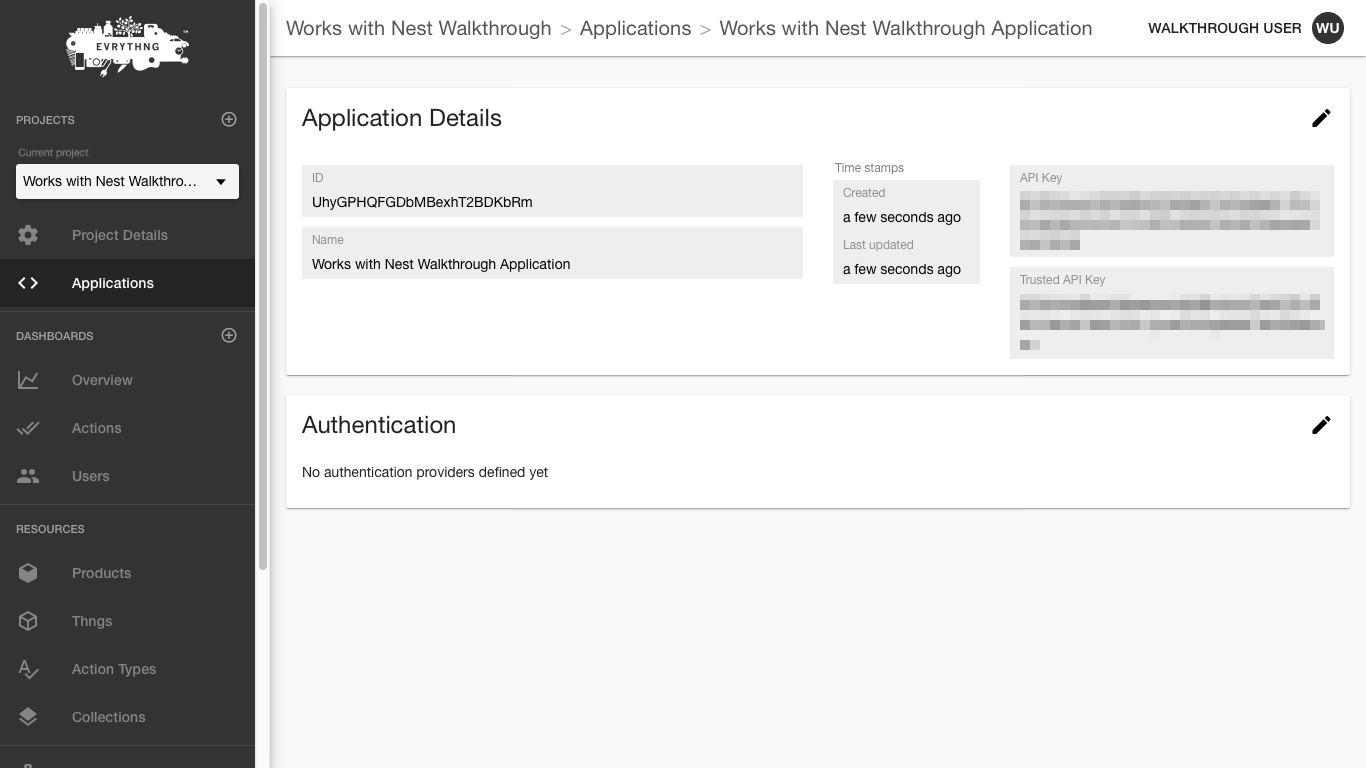
NoteTake a note of the application's ID, we will use it in the process of connecting Nest Home with the EVRYTHNG Platform.
## Create an Application User
Nest devices in the EVRYTHNG Platform belong to an Application User, so now we need to create a user inside the application that we have just created. For simplicity in this tutorial, we’ll use the Testing tools inside the EVRYTHNG Dashboard to do this, but you could also integrate user management and provide authentication mechanisms in your own applications via the EVRYTHNG API.
Start by clicking on 'Testing' on the left side navigation and then on the 'Create test user' tab.
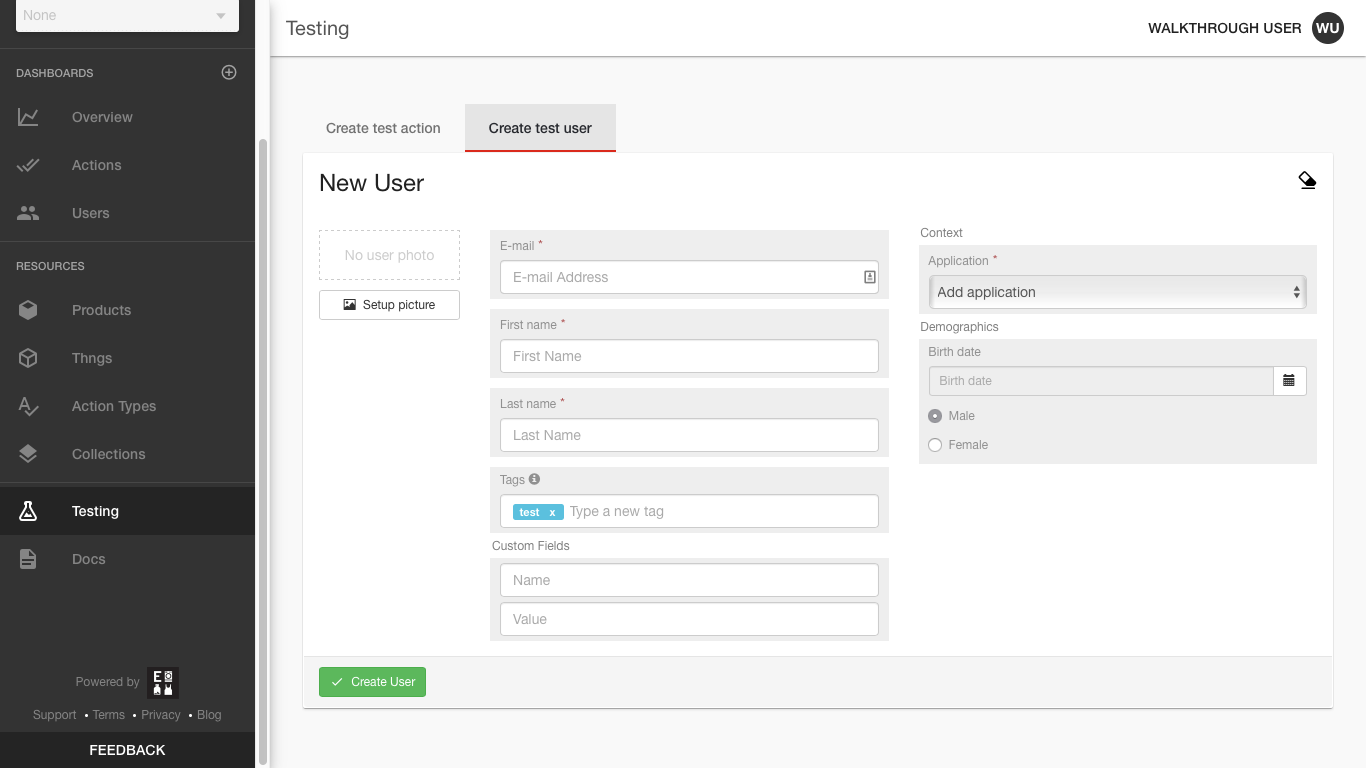
Next, do the following:
- Enter a valid email address.
- Enter a first name and last name (e.g. 'NestCamera User').
- Select the application the user belongs to, in this case the 'Works with Nest Walkthrough Application' that we created before.
- Click on 'Create User'.
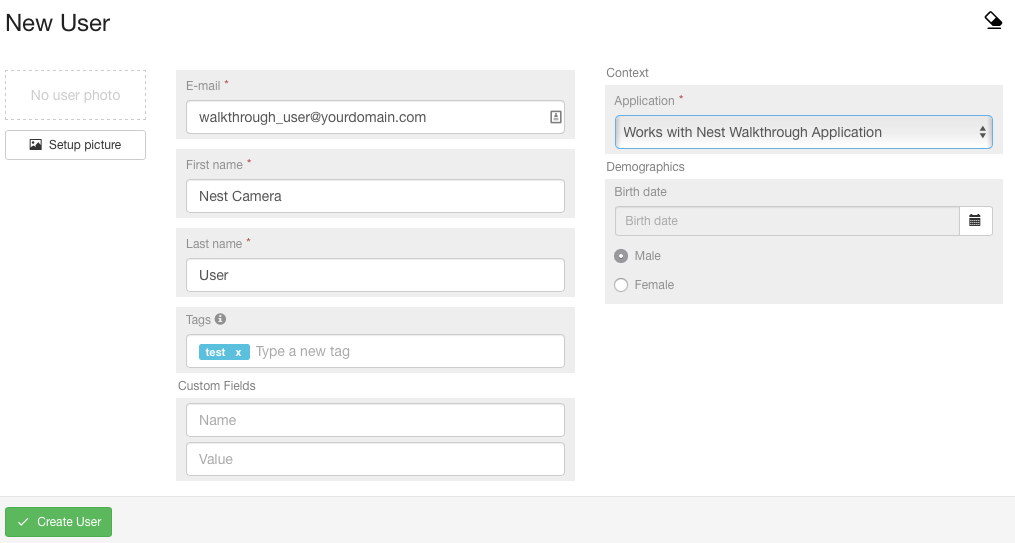
You can now view the user by clicking 'Users' in the navigation. To see the details, click on the name (e.g. 'NestCamera User').

Here are the details of this specific user that represents a Nest Cam owner:
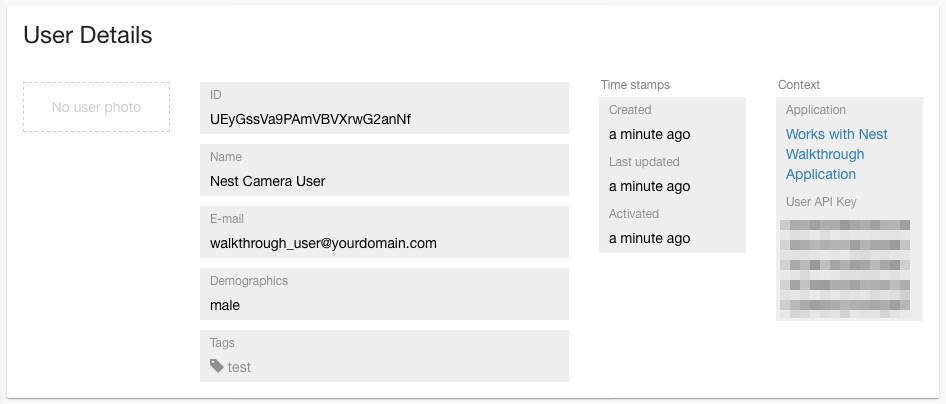
NoteTake note of the User API key, we will be using it later to access the different devices.
## Create a Thng for your Raspberry Pi
Lastly, we need a representation of your Raspberry Pi in the EVRYTHNG Platform. We do this by creating a Thng. Click on the Thngs menu in the side navigation. This would be where you would see the object representations (Thngs) you have in your account already.
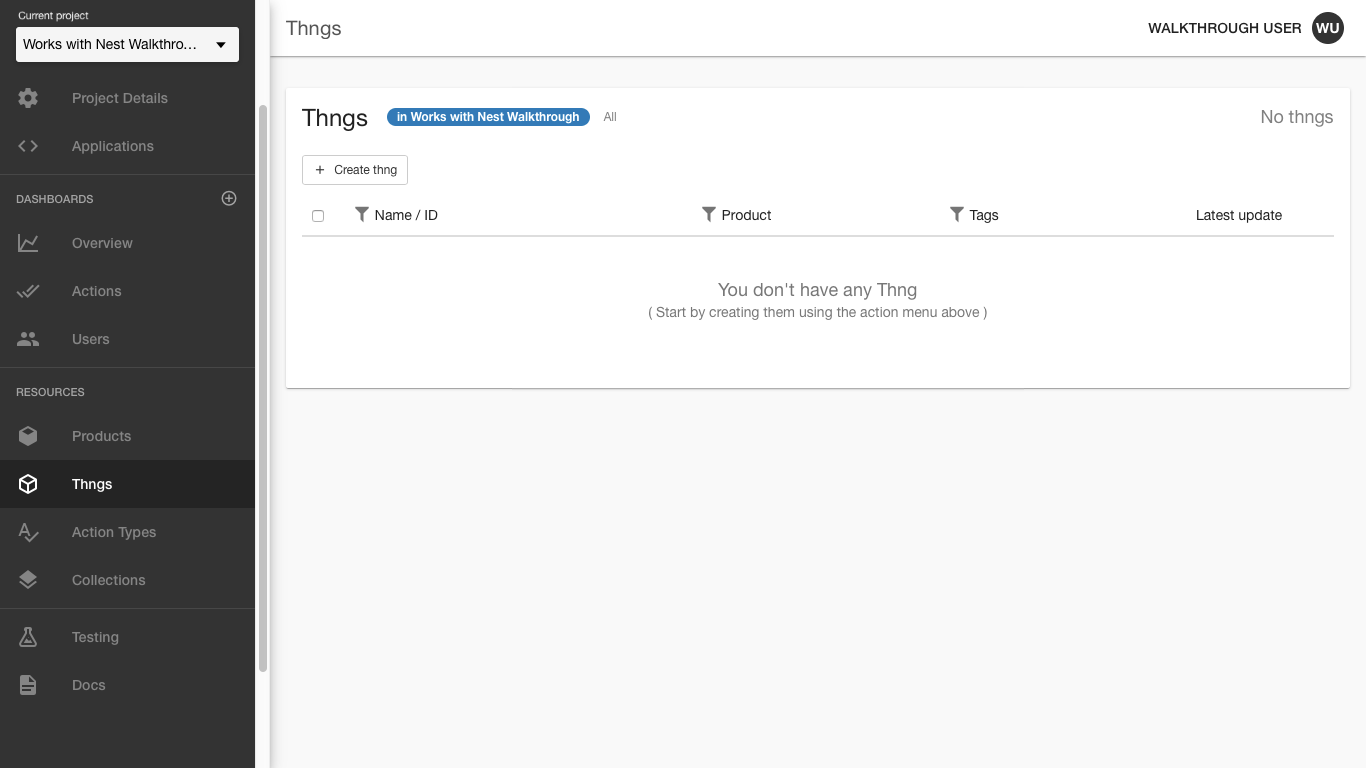
The Thngs screen.
With the 'Works with Nest Walkthrough' project selected in the 'Current project' box, click on the 'Create Thng' button, and enter the following information:
- In Name, enter a name for the Raspberry Pi (e.g. 'Raspberry Pi Device')
- Optionally, in Description you can enter a longer text description (e.g. 'A Raspberry Pi located on my desk').
The other fields are not needed for this walkthrough, but allow you to associate metadata with the physical object.
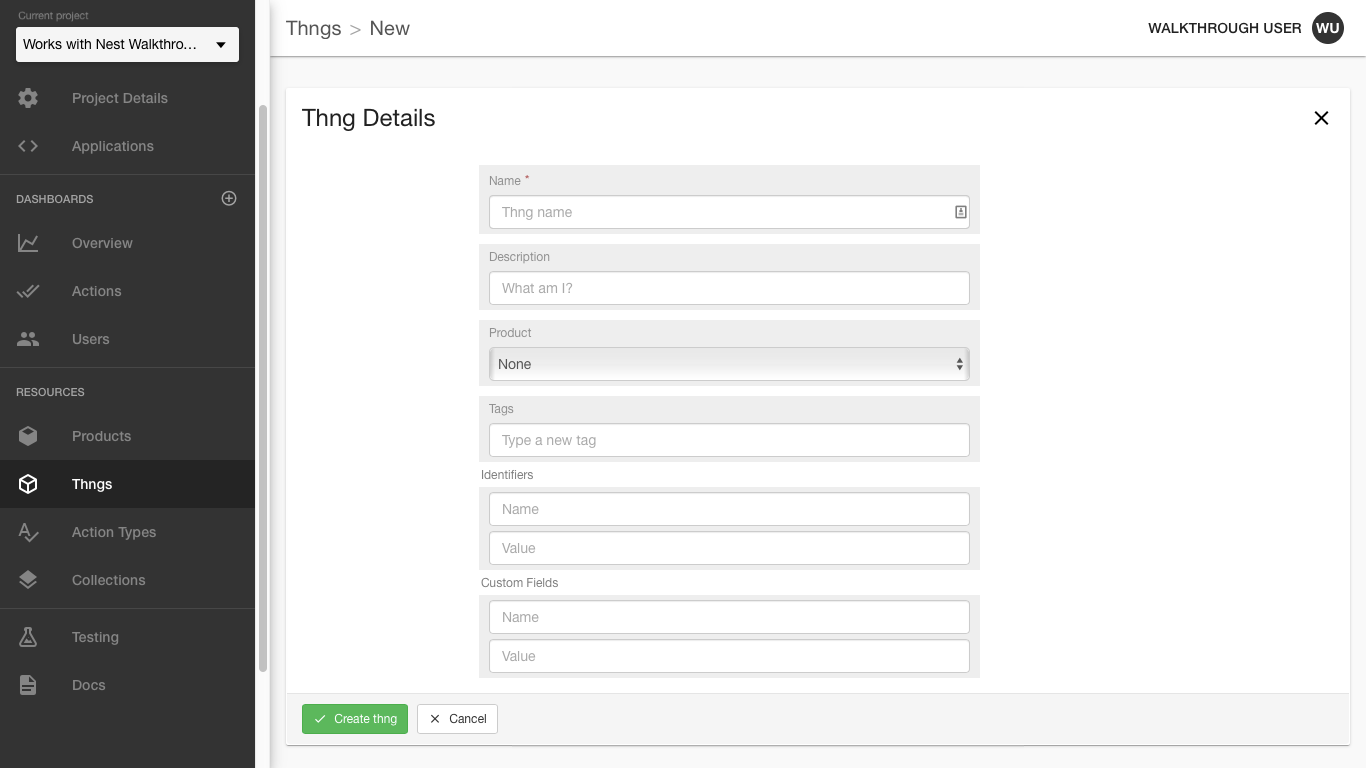
Click “Create Thng” and you’ll now see the details of the newly created Thng:

This screen shows you specific metadata and status of your Raspberry Pi.
NoteTake note of the Thng's ID, we'll be using it later to send information to EVRYTHNG from the physical device.
We now have all the EVRYTHNG objects configured. In the next step, we'll show how to connect your EVRYTHNG project, application, and Thng to Nest Home.
Updated 8 months ago
