Screenly
Screenly is a leading digital signage platform. By connecting it with the EVRYTHNG Product Cloud, you can now display personalized content on screens when people interact with tagged products. For example, imagine changing the content of in-store screens depending on the products customers pick up. With this connector, this is now possible within minutes.
Creating the Screenly Resources
Using the Screenly dashboard, perform the following steps to prepare the screens, playlists, and assets corresponding to the products that trigger changes on the screens.
- Add the screen(s) to the account. The Screenly dashboard guides you through this process.

-
Add the screen to a group. Playlists are displayed on a group basis.
-
Add content (images, web pages, and so on) for each EVRYTHNG tagged product to be displayed.

- Create a playlist for each EVRYTHNG tagged product. Set Plays on to the group you previously created. Set enabled to false. In the advanced tab, set Priority override to true.

-
Add the content for each product to its corresponding playlist.
-
OPTIONAL: Create a default playlist and add a generic asset(s) to be shown when no products have been scanned recently, such as brand logos/information. Set Plays on to the group that you have previously created. Set enabled to true. In the advanced tab, set Priority override to false.
-
In your Screenly account, click Settings > Account. In the Token section at the bottom of the page, create a token and save it locally. You'll use it later in the project.
Creating the EVRYTHNG Resources
Log into the EVRYTHNG Developer Dashboard and start by creating a project with a corresponding application.
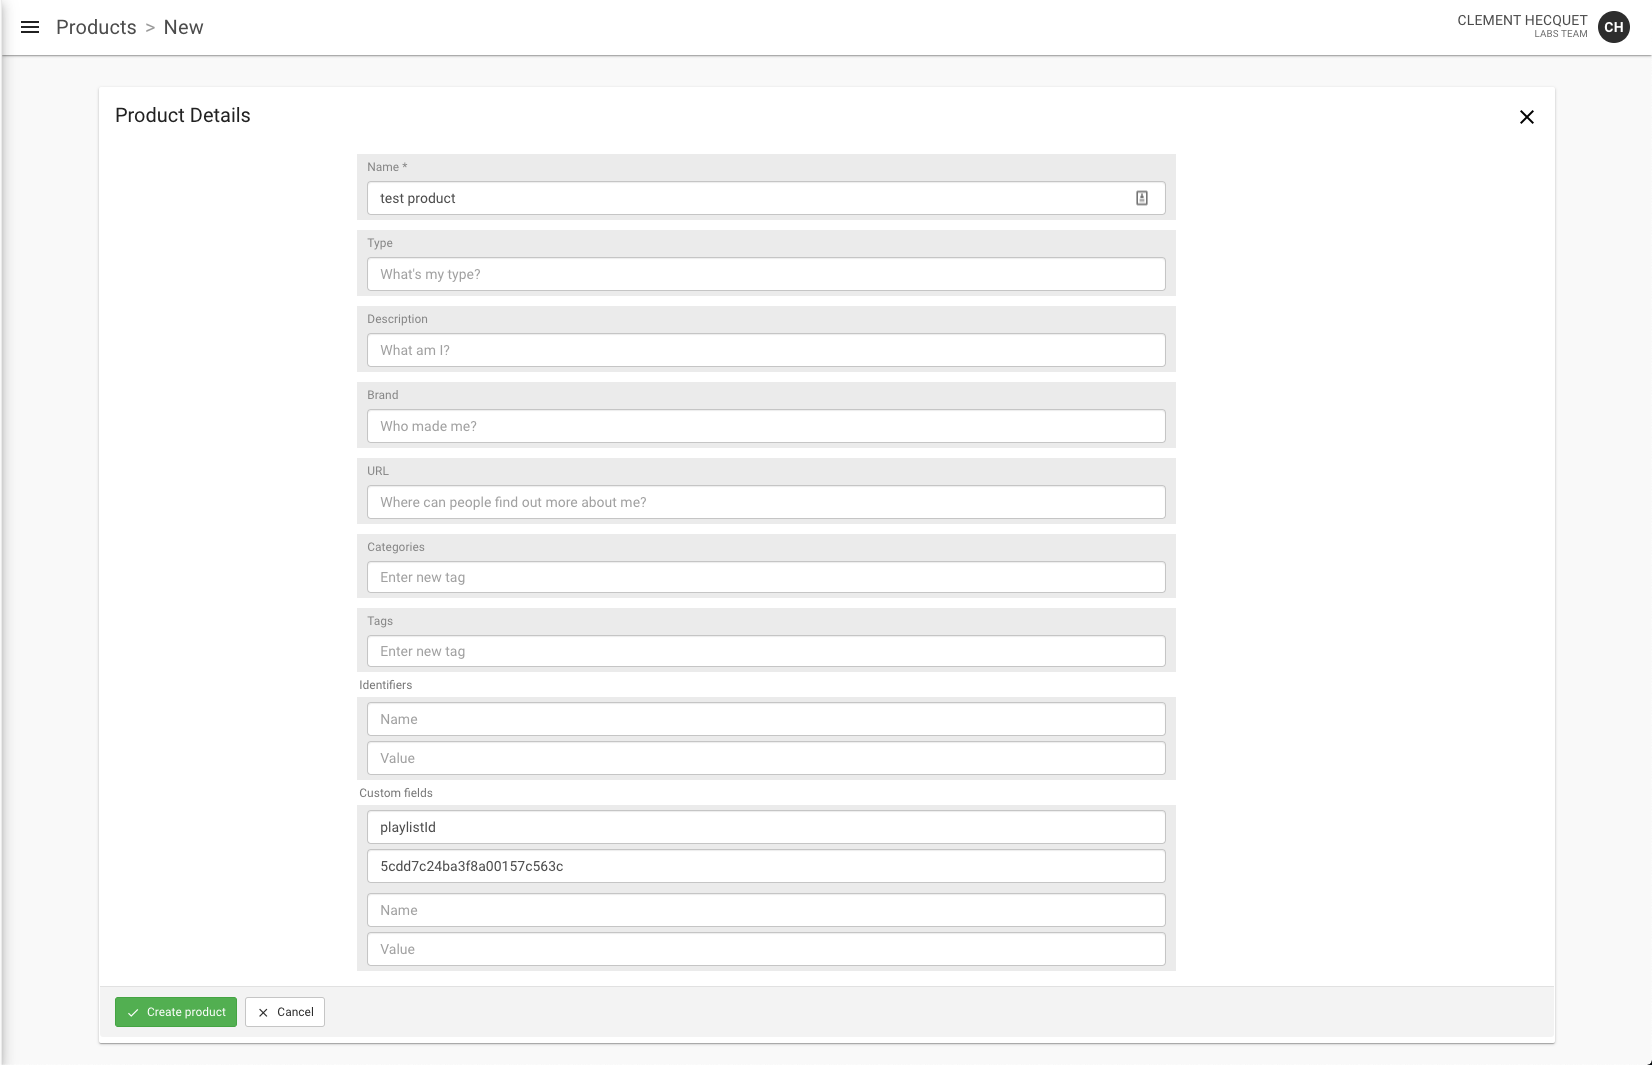
Create a product to represent the type of product the user will scan. The only additional field you must add to the product is the customField playlistID. Set it to the Screenly playlist you want to start when the product is scanned.
NotePlaylist IDs can be found in the browser URL when on the respective playlist's details page as the last URL segment. For example: 'https://mwc.screenlyapp.com/manage/playlists/5cdd7c24ba3f8a00157c563c'.

Then, create a Thng that corresponds to the product.
After the Thng is created, set up a redirection. Select the application you created previously. Note that the redirect URL can be set to anything. It's overridden by another rule that you'll configure later.

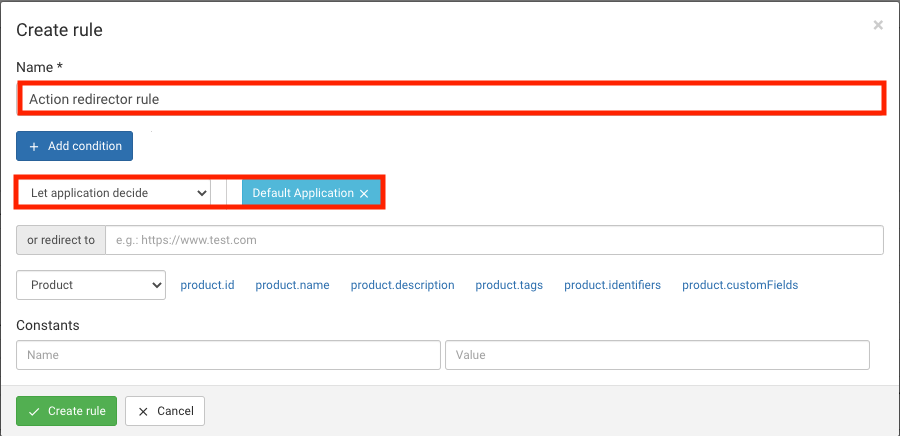
To redirect the scan Actions to your new application, click the Redirector tab in the EVRYTHNG dashboard and create a rule. Set a name and select the desired application. Click Create rule.

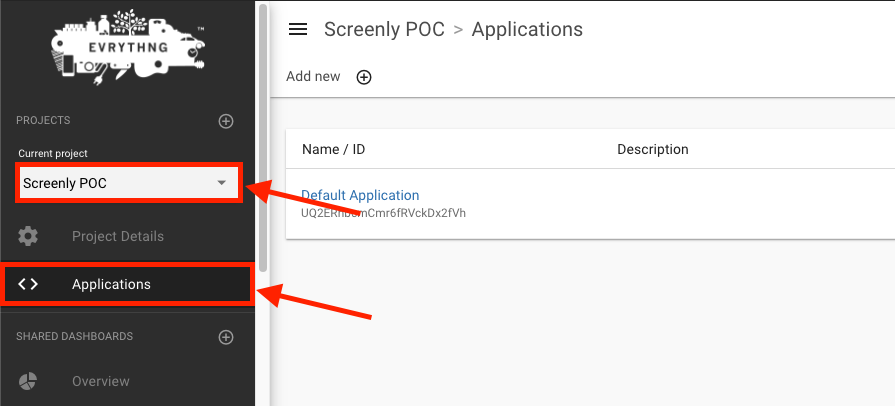
Select your project and navigate to the Application tab.

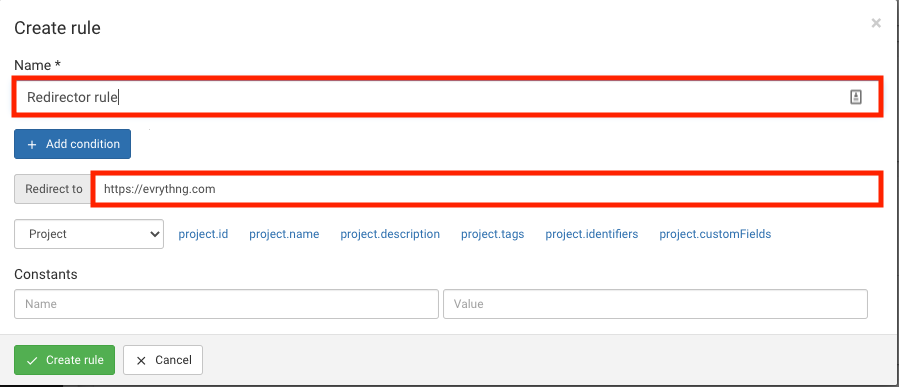
Select your Application and scroll to the bottom of the page. In the Redirector section, create a rule. Set a name for the rule and a redirect URL. The redirect URL corresponds to the web experience a user sees when scanning the tag. For more information, see Set up the Application-level Redirector. Click Create rule.

Upload the Reactor-Screenly connector into your application by following the steps in the Github repository.
Updated 9 months ago
