Roles, Permissions, Schemas
Along with the Roles and Permissions APIs, the Dashboard provides a visual method of managing access rights and resource visibility for account operators and application users alike.
Operator Roles
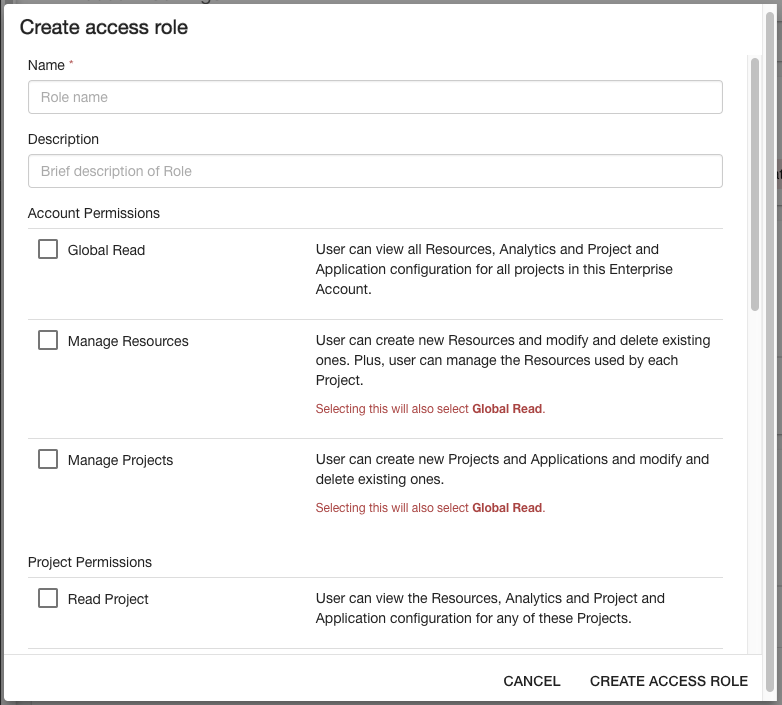
You can use the Team Settings page to add team members to the account to enable collaboration and sharing of access to account resources as required. You can also create and assign access roles, which limit the scope and access among the team members on the account.
Application User Roles
Use the Application User Roles page to manage Application User roles, which determine which resources Application users can see and change.
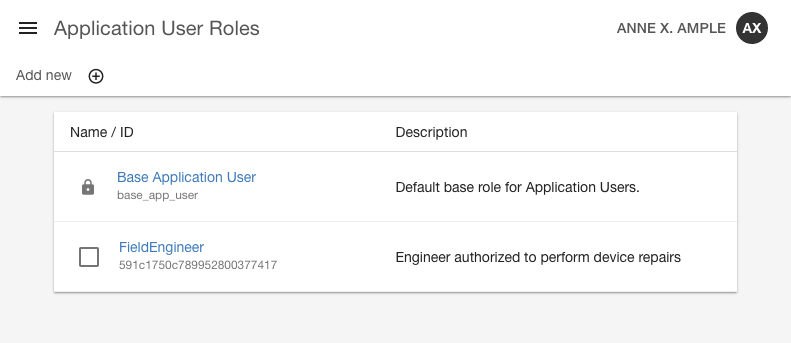
This section lists the currently available roles and lets you create new ones.
To create an application user role:
- Click Add new ⊕.
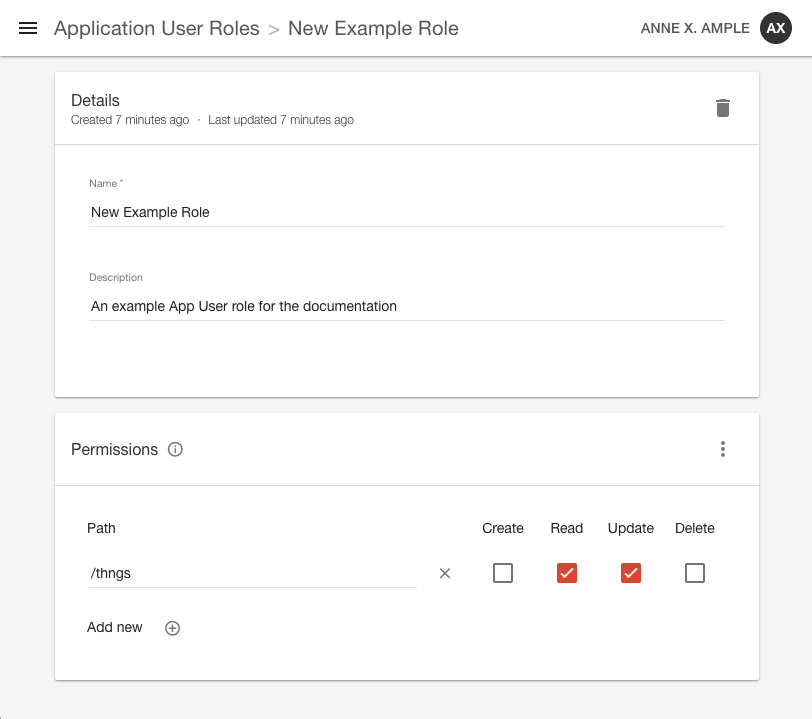
- Type the name and description.
- Click Create to save the data. The new role is shown, including the empty list of permissions.
The default state for a new role has only default permissions. You can add permissions here using the Permissions section of this screen. Do this by adding paths and enabling the methods (Create, Read, Update, and Delete) to be granted for the role.
If needed, disable the No other roles can view and assign this role check box to choose other roles that need access to this role. For example, a supervisor role might need access from the account operator to a subordinate role to manage its permissions.
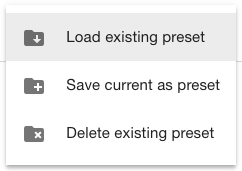
Finally, you can save and load a preset list of roles for reuse with newly created Application User roles. This also allows you to begin with the default set and iterate from there.
Read Roles and Permissions for more information on the types of role and their uses.
Schemas
Enterprise Feature
The Dashboard also lets you create and apply schema resources to limit the visibility and access of certain types of Thngs, products, and actions for Application User roles. The schema defines which fields of the target resource can be seen or updated. Schemas are created and managed through the Schemas section of the Dashboard navigation panel.
NoteYou must have the Schemas Enterprise module enabled to access the Schemas section and use schema resources.
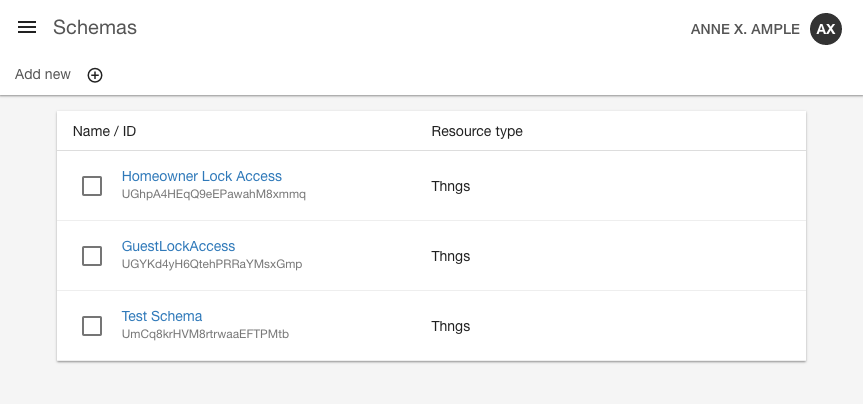
Add new schema resources by clicking Add new ⊕. The next page lets you to specify the name of the schema resource (useful for providing human-readable context about its purpose), the type of Platform resource it's applied to (after it's associated with an Application User role), and the body of the schema itself.
The schema can be any compatible Schema object describing the permitted shape of a resource of the specified type. At the moment, only Thng properties and action type fields are checked.
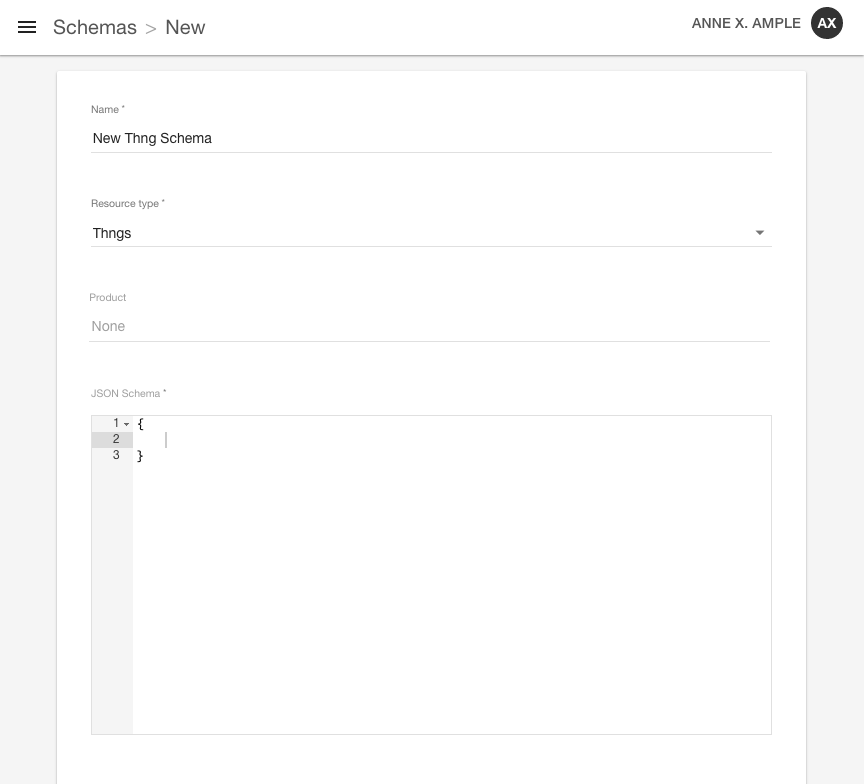
See the Schemas page for more information about the creation and application of schemas.
Role Policies
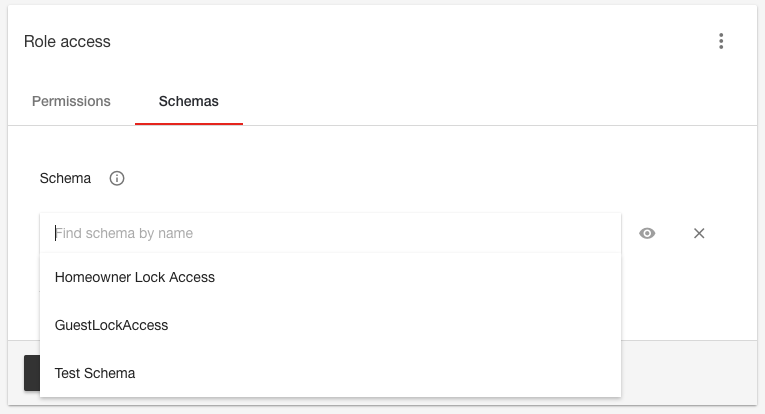
After a schema resource has been created, it isn't applied until it's associated with an Application User role. This means that all Application Users with the specified role have the schema applied to the read/write requests they make.
To create a role policy:
- Click Application User Role in the left navigation pane.
- Choose an Application User Role.
- Select the Schemas tab under Role access.
- Choose a schema to apply.
- Optional: Click Add new to add another.
With this in place, requests by Application Users with that role have these schemas applied.
Updated 9 months ago
