Custom Components
Creating custom widgets for the EVRYTHNG Dashboard is easy. If you're familiar with AngularJS, you can jump into the example project.
This guide is mostly suited to web developers because it requires basic web technology knowledge.
A Brief History of Components
Components provide a way to create small, reusable pieces of functionality that serve a simple purpose. By grouping several components together you can create another higher-level component recursively until you have a single application component.
Every major JavaScript framework enables this concept. AngularJS has directives and components, React was created with composition in mind, and Web Components became a W3C standard, with libraries such as Google's Polymer and Microsoft's X-Tag taking the lead.
The EVRYTHNG Dashboard is built on AngularJS and the natural first step is to leverage the component structure within the existing framework. We currently support Angular 1.5 components out-of-the-box for the custom widgets. We plan to support Angular 2 components and Custom Elements in the future.
With that in mind, we chose a structure and development tools that would ease the transition when the time comes.
The Example Project
EVRYTHNG Dashboard Components StarterYou can find the project at https://github.com/evrythng/dashboard-components-starter.
The starter project provides examples of custom widgets written in Angular 1.5, ES6, Sass and Webpack. It also provides tools to scaffold new components and to test your code. Read the instructions in README.md to get started.
-
After you clone the project, install the dependencies and launch the development server, you must configure the EVRYTHNG Dashboard to use those components. See the Dashboard Customization section for information about how to create a dashboard and add widgets.
-
Add the custom bundle in the Advanced settings section of the Edit dashboard dialog.
-
Add a toolbar
my-toolbarin the Toolbar section. -
Add two widgets called
my-mapandmy-chart.
Your dashboard setup dialog now looks like this:
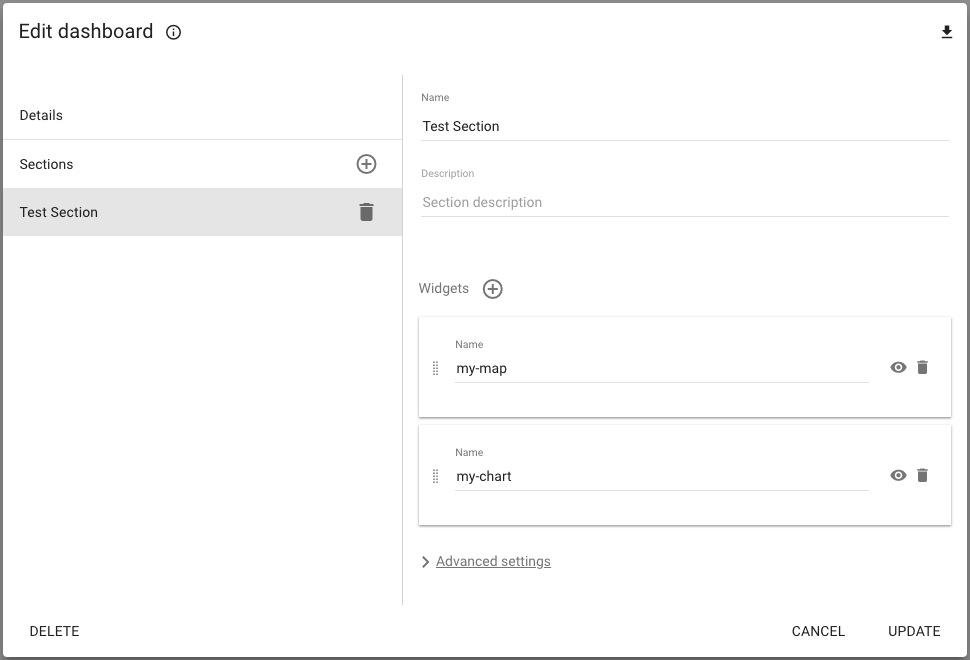
You'll find the toolbar under the dashboard's Details section.
WarningThe widgets' tag names in the customization dialog must always map to the names of the components defined in the source code; otherwise, nothing is displayed.
As you might have noted, the components aren't loading. From the Troubleshooting section, we learn that this is because the recently served components bundle is served over HTTPS but uses a self-signed certificate that's included in the project.
Allow Insecure Localhost
This is a browser security mechanism. We don't recommend trusting certificates that aren't validated by third-party certificate authorities, but sometimes we want to launch a secure HTTP server. After your components bundle is deployed and hosted for production, it must have a valid SSL certificate (see Letsencrypt, for example). Most cloud hosting providers offer them out-of-the-box. For development, though, we need to open an exception.
As more and more powerful web features require HTTPS connections (for example, HTTP/2, Service Worker, Web App Install banner), allowing insecure localhost for development is becoming a normal practice.
The components bundle is available at https://localhost:3000/components.bundle.js.
Google Chrome
If you use Google Chrome for development, you can make an exception for your local secure server in multiple ways.
Option 1 - Open components bundle and proceed to trust local certificate
This solution applies only to Google Chrome and doesn't make the certificate trusted by the system but opens an exception when loading from Chrome. If you use this browser only for development, this is usually enough.
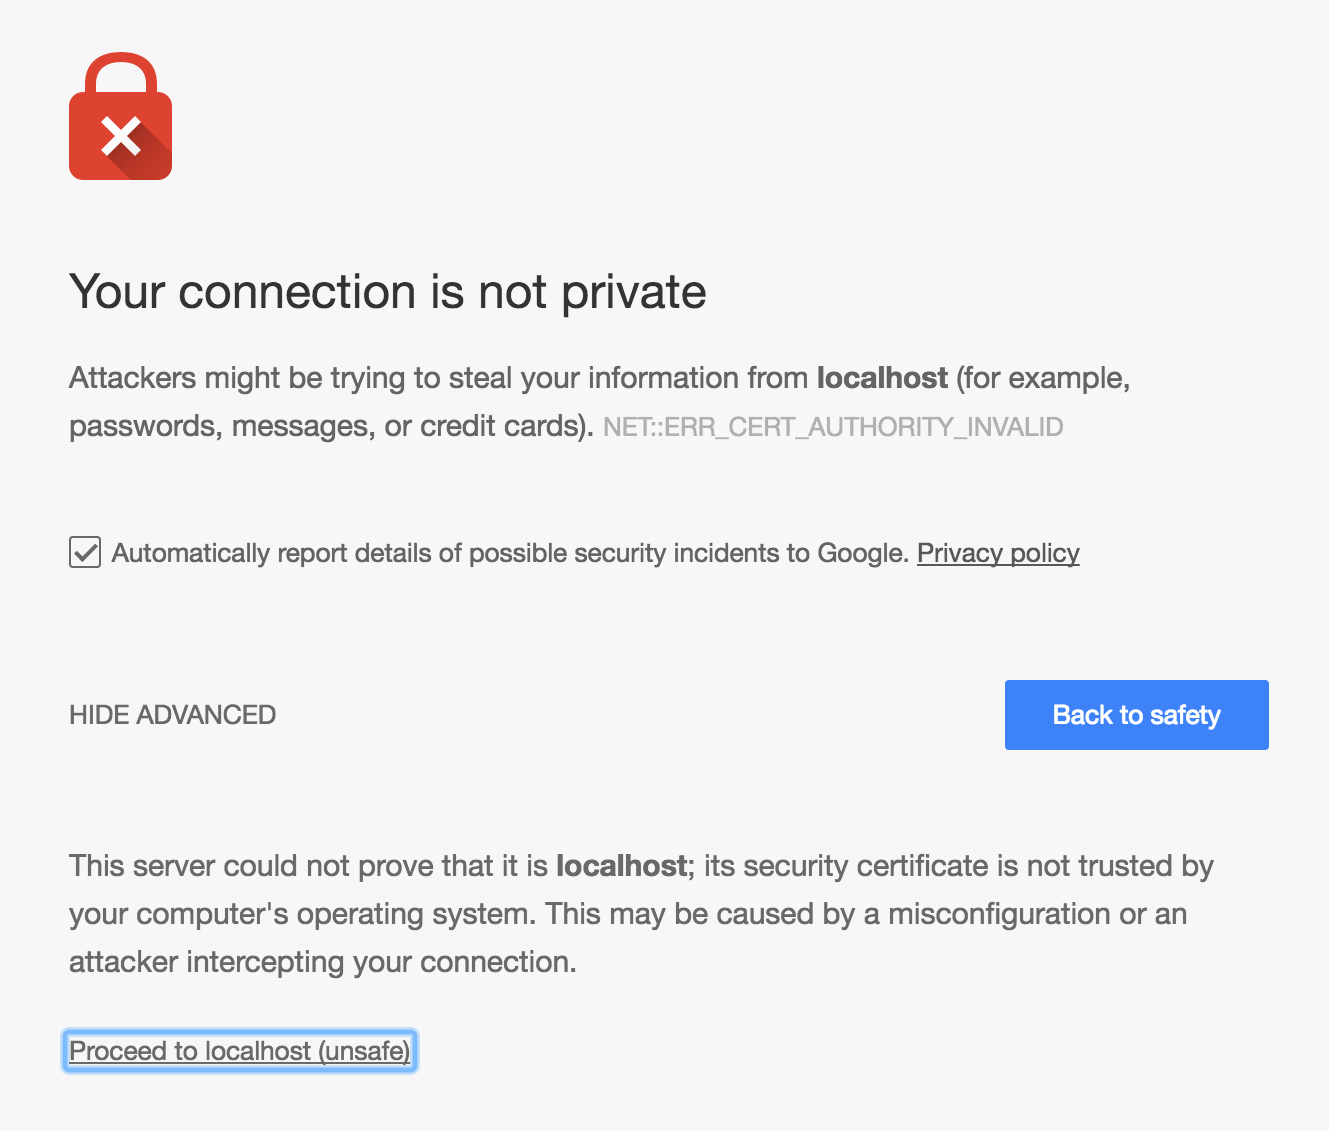
Reload the EVRYTHNG Dashboard to see your first components.
Option 2 - Enable experimental flag
The Google Chrome development team added an experimental flag to allow requests to localhost over HTTPS even when an invalid certificate is presented. Just type the following in the address bar, enable and relaunch Chrome.
chrome://flags/#allow-insecure-localhost
Reload the EVRYTHNG Dashboard to see your first components.
Safari
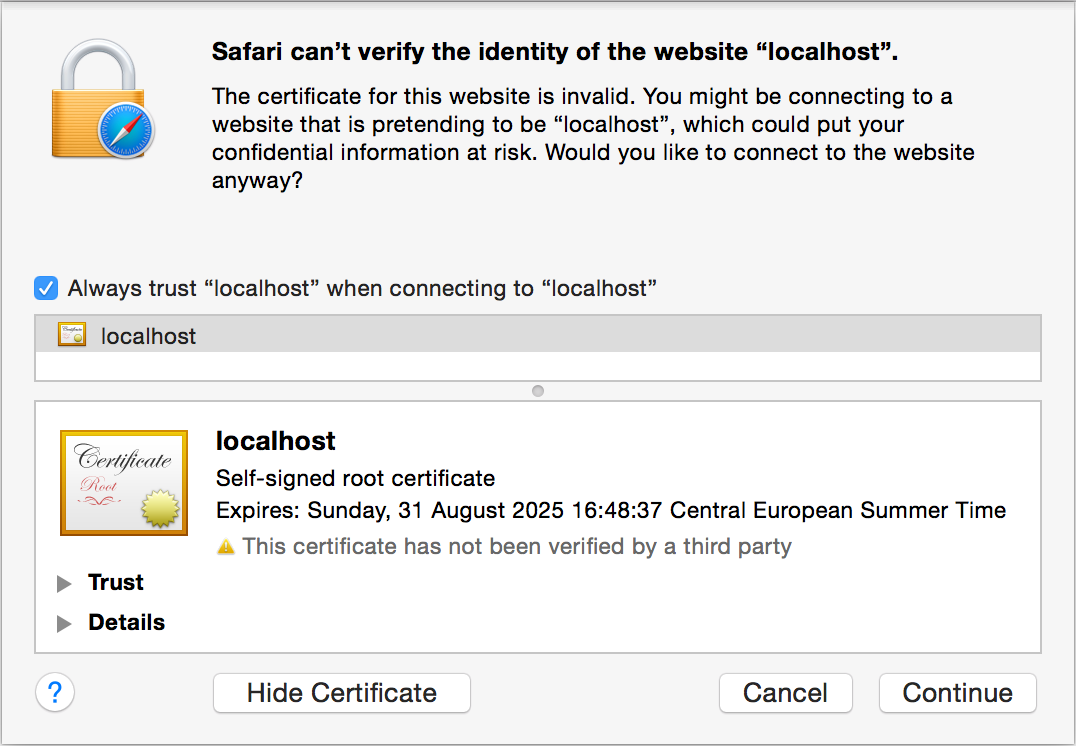
Safari automatically suggests you trust the self-signed certificate from localhost by adding it to the system's trusted certificates.
A prompt is displayed indicating the certificate is not valid. Select Show Certificate and then Always trust "localhost" when connecting to "localhost". This adds the self-signed certificate to the system. Future requests from any browser are valid.
Reload the EVRYTHNG Dashboard to see your first components.
Other Browsers
When using browsers other than Google Chrome, you can add the certificate manually to the system. The following steps shows how to do so for macOS.
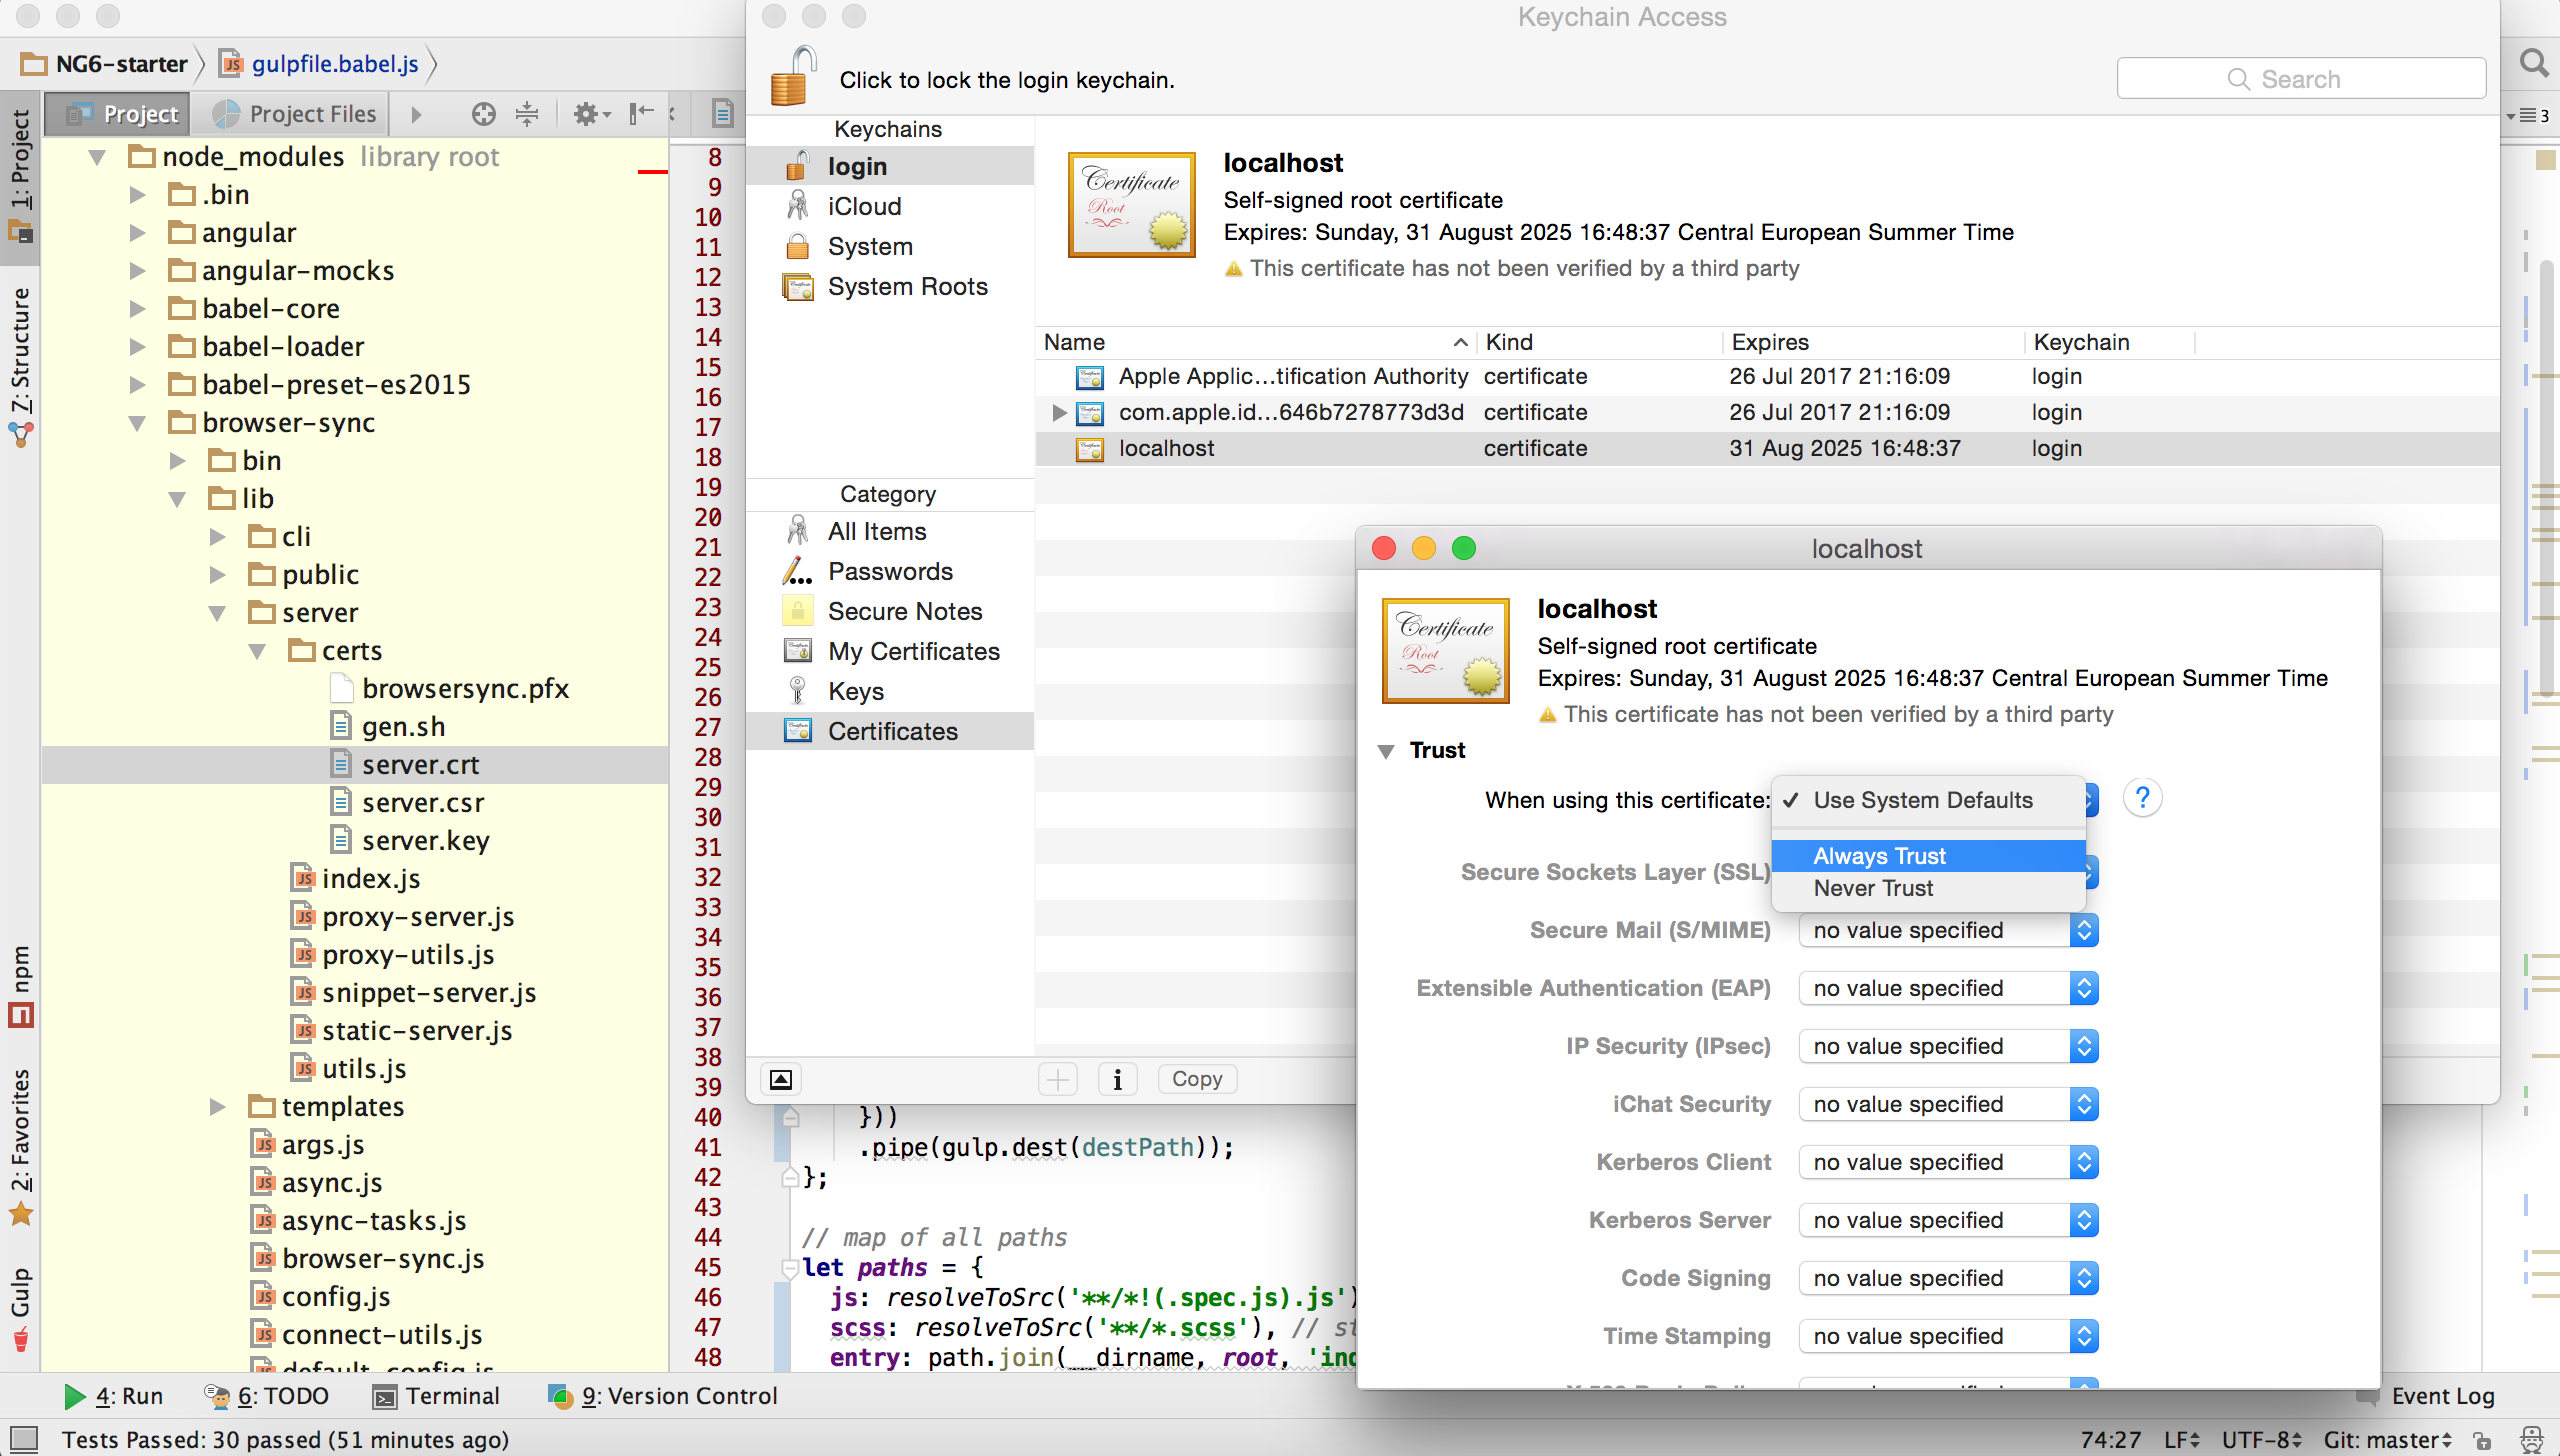
This project uses Browser Sync as the development server. After installing all the dependencies, you can find the self-signed certificate under node_modules/browser-sync/lib/server/certs/server.crt.
- Find the certificate.
- Open the Keychain Access application on macOS.
- Select the Certificates category on the left. Drag and drop the certificate into the list.
- Open certificate details and select "Always Trust" for the option When using this certificate.
- Reload the EVRYTHNG Dashboard to see your first components.
Developing
After launching the development server, all the files are watched for changes. Whenever a change is made, the components bundle is automatically updated. The easiest way to develop custom widgets is to make the changes in the source code with your preferred editor or IDE and refresh the dashboard. It automatically uses the newly updated components.
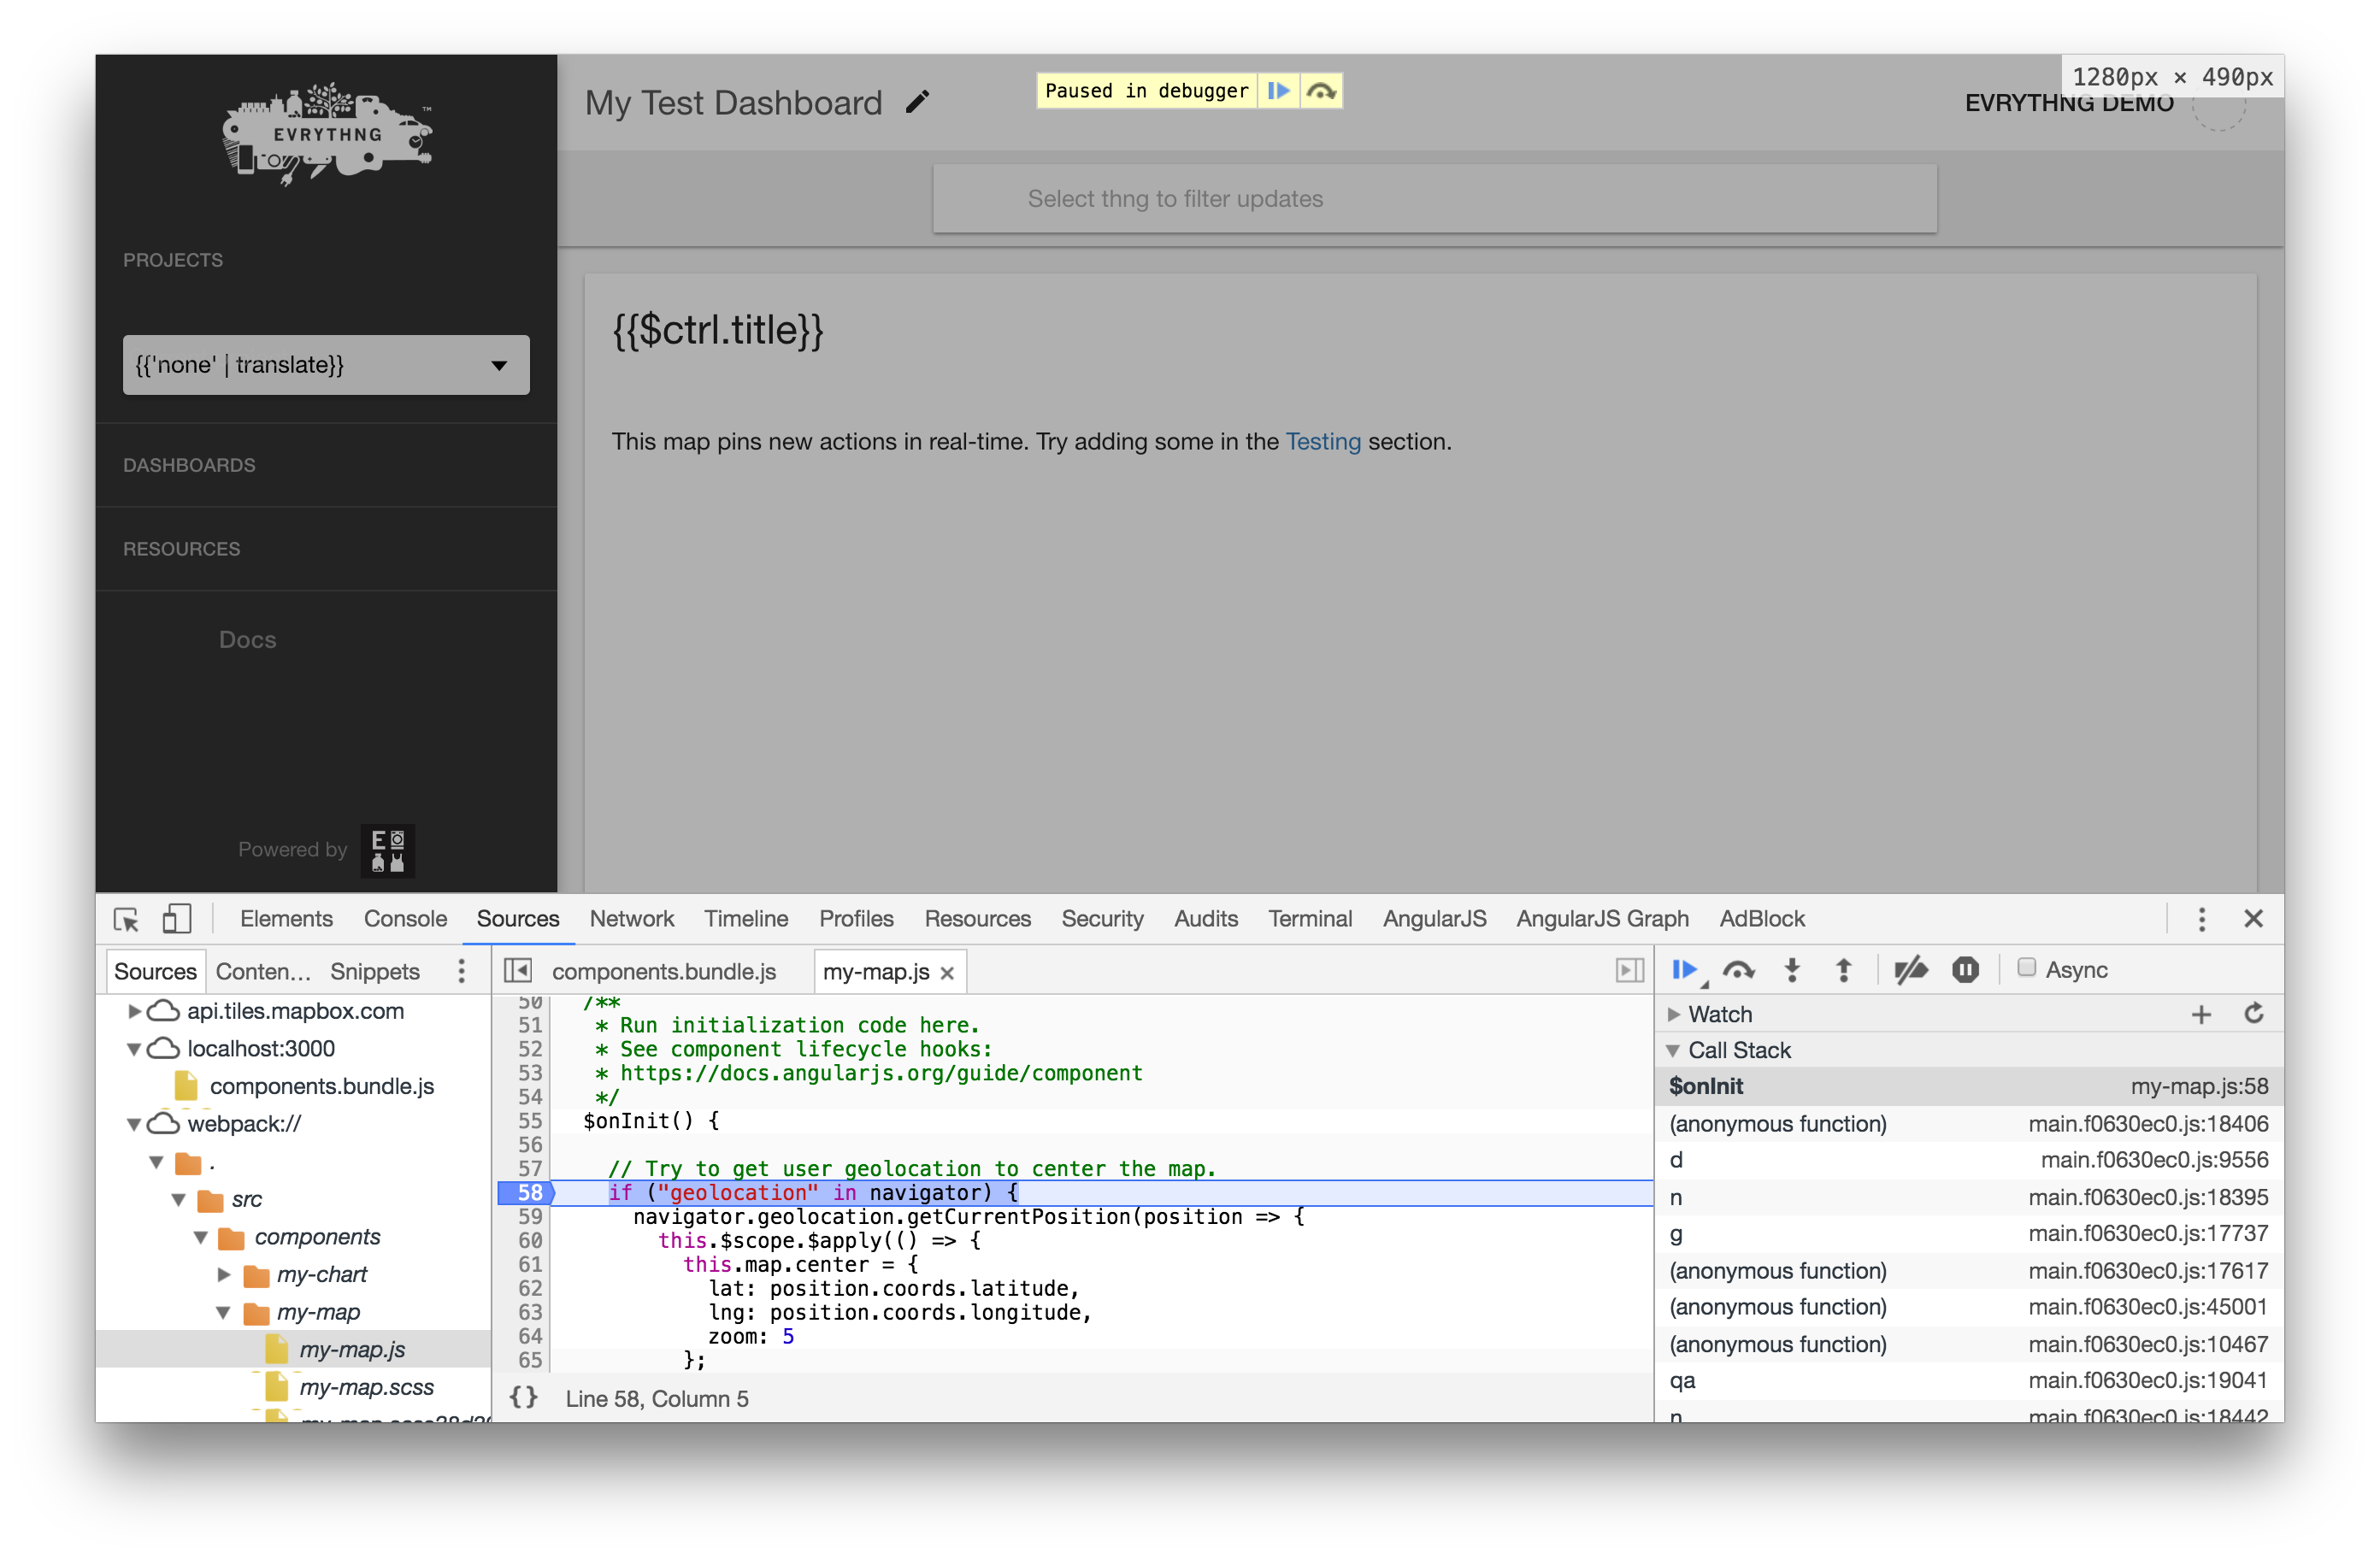
Sourcemaps are provided, which allow you to debug and inspect your original ES6 code from within the Dashboard application. If you want to inspect the original code after it has been deployed, publish the sourcemaps as siblings of the components bundle.
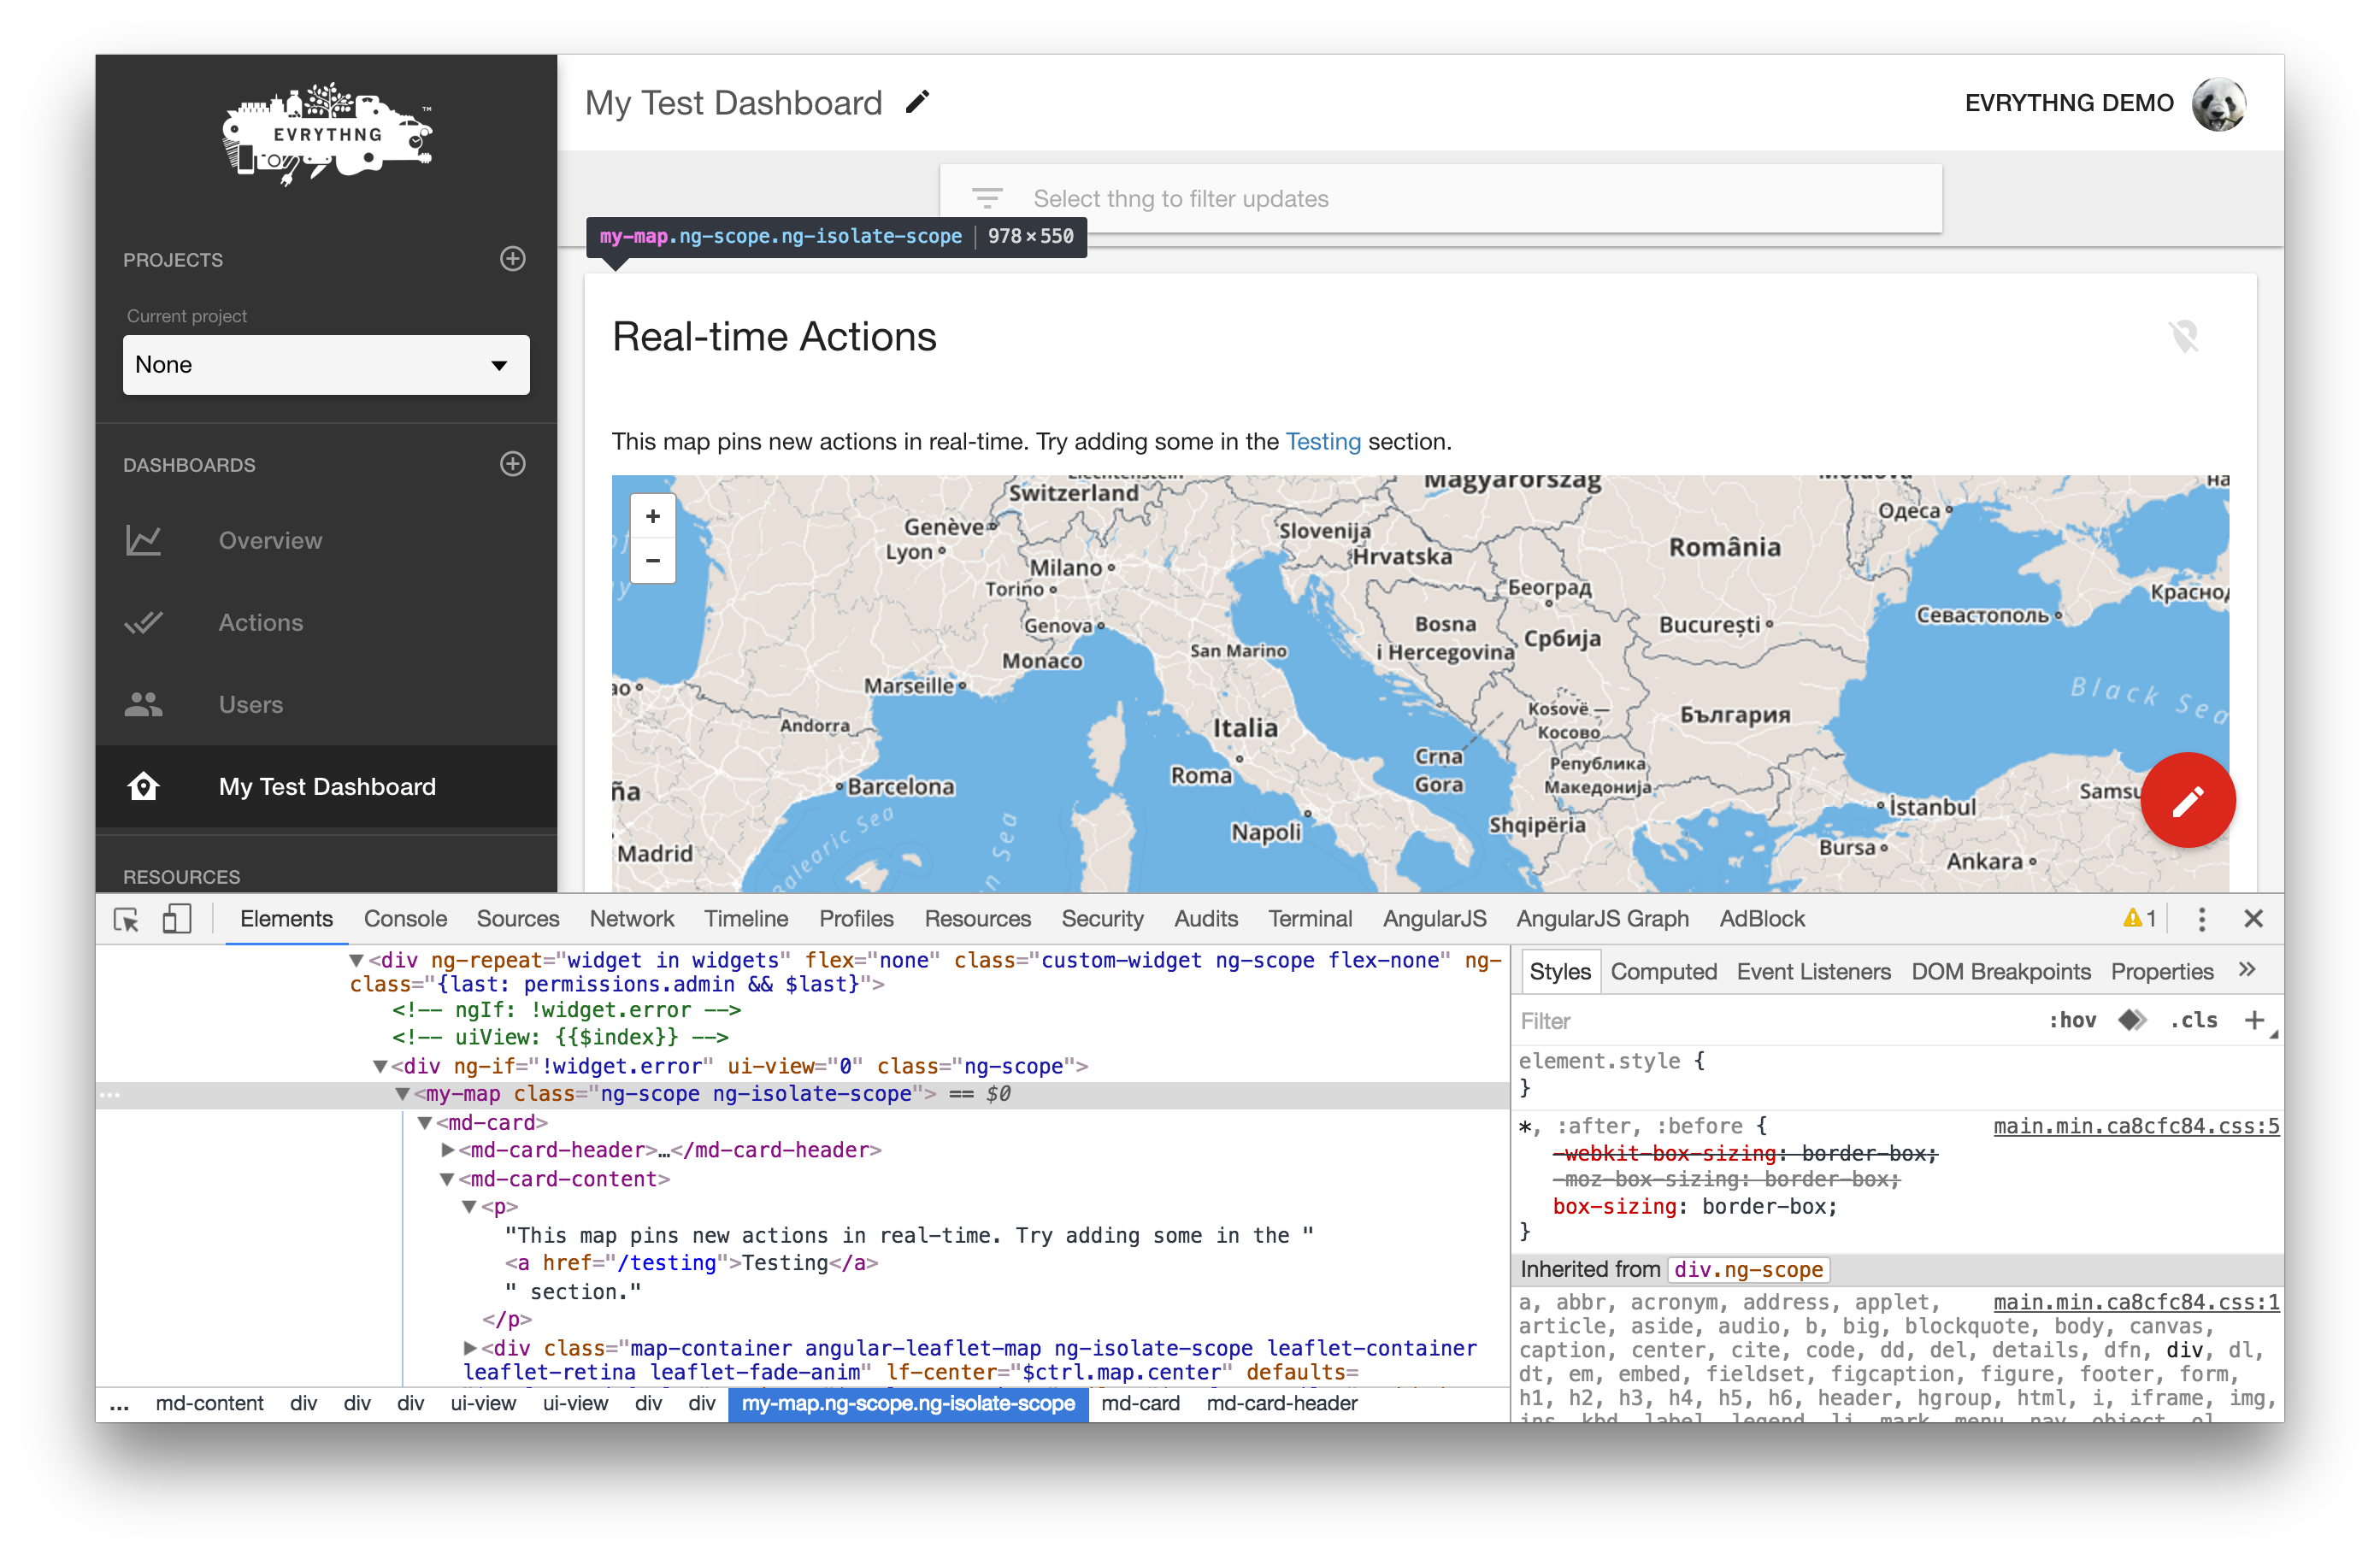
The HTML template is also visible in the Dashboard document.
Essentially, your components are included as if they are part of the application.
Updated 8 months ago
