Wiliot Battery-Free Bluetooth
EVRYTHNG provided the first and most comprehensive integration with Wiliot tags the battery-free Bluetooth tags from Wiliot. This page describes the easy steps required to connect Wiliot tags to the EVRYTHNG Product Cloud and stream actionable sensor data from the tags.
Setting up a Wiliot Gateway
First, you'll need the tag signal to reach the Wiliot platform. You can do this using two approaches:
Using a Wiliot IoT Gateway
You'll find more details about this approach in the Wiliot documentation portal.
Using smartphone as a Gateway
This approach is detailed here.
Creating your EVRYTHNG project and application
We suppose you have already created a project dedicated to Wiliot in your EVRYTHNG dashboard. If you want more information on how to do it: https://developers.evrythng.com/docs/using-the-dashboard-resource-management.
Within this project, create an application and store its trusted API key, which will be needed soon.
Creating your Wiliot application
- Go to the Wiliot management dashboard.
- Click New application in the top right section of the dashboard.
- Set your application Name.
- Configure the URL field:
https://api.evrythng.com/thngs/WiliotID:{{tagId}}/properties. - Configure the
MethodasPOSTand add two headers:
Authorization: add the EVRYTHNG Trusted App API Key of the application you previously created.
Content-Type: set it toapplication/json.
You'll update thebodyfield later.

- For the event policy field, accept the default value.
- Click Save.
Linking the Wiliot tags with the Wiliot proxy
To send the data from the tags to the Wiliot proxy:
- Click your newly created application and click Association:

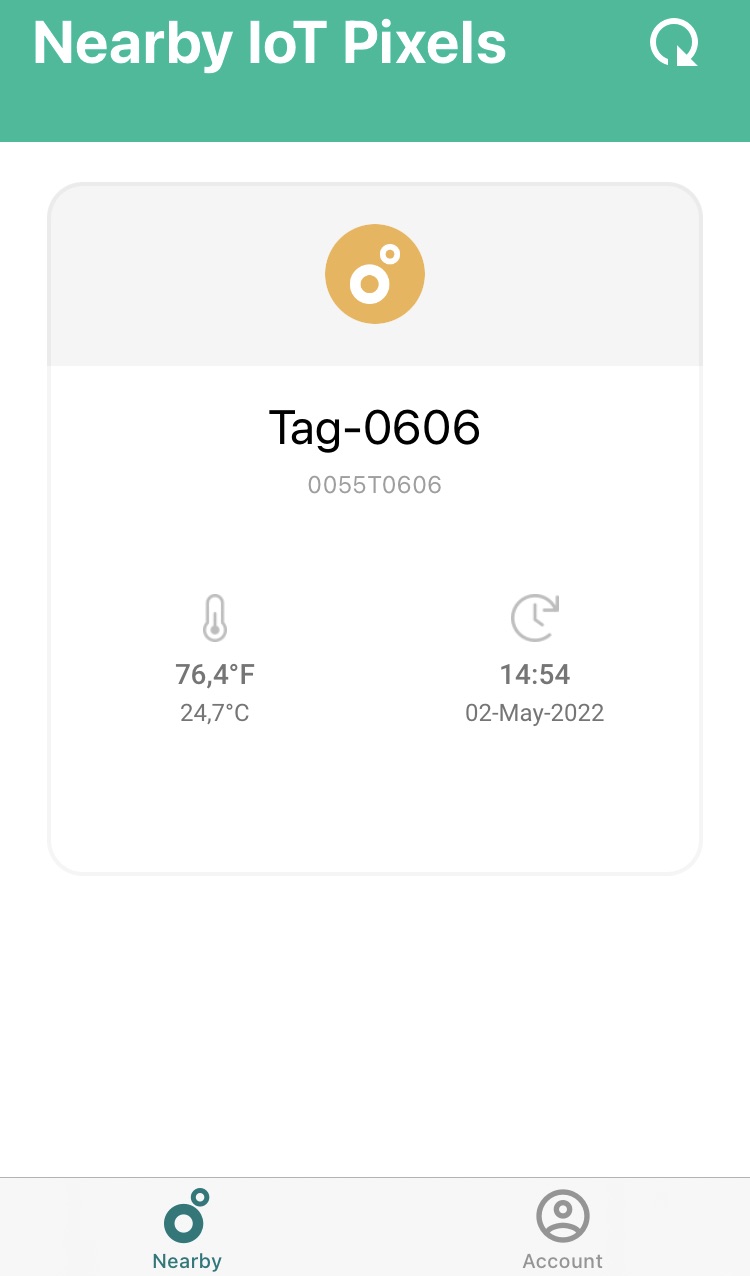
- Select all the tags you want to link. In this example, we have associated the tags “...0055T0606” and “...005dT0215.”

- Be sure the Wiliot Gateway is on. If you're using your smartphone as a gateway, you can check whether the tag is being detected. If so the tag's packets are redirected to the Wiliot dashboard.
- Go back to your dashboard. After a few minutes, you'll receive some messages. If you see data in the report graph, it's working.

If you don't see data in the report graph, be sure you have data on the report graph in the debug application. If you don't see the debug data, your gateway is probably not set up correctly or your tags are too far away from the gateway.
Linking the Wiliot Proxy to the EVRYTHNG Product Cloud
To bridge the data from the Wiliot proxy onto the EVRYTHNG platform
- Set up the endpoint to redirect the incoming message to the EVRYTHNG dashboard:
a. Start by creating the Thngs in the EVRYTHNG platform that correspond to the Wiliot tags. Be sure this Thng is included in the project that contains the application for which you provided theEVT_trusted_app_keyduring the endpoint configuration. Here, the project is calledWiliot.
b. To link the Wiliot IDs with the EVRYTHNG IDs for each Thng, add an identifier with the name ‘WiliotID’, its value is the ID of the tag. It must be exactly the same as it is defined in the Wiliot dashboard.

Example for tag “...0055T0606"
c. Go back to the Wiliot management dashboard and into your application. Click **Edit** and go to the *Endpoint* section. Now, you can configure the body of the request. Add all the fields you need.[
{
"key":"eventName",
"value":"{{tagId}}:{{eventName}}"
},
{
"key":"eventValue",
"value":"{{eventValue}}"
},
{
"key":"timestamp",
"value":"{{timestamp}}"
},
{
"key":"latitude",
"value":"{{latitude}}"
},
{
"key":"longitude",
"value":"{{longitude}}"
}
]d. In the `Event Policy` section, configure the filters that you want to apply. As an example, we removed all the events except `TEMP_C`.
This way, youcan see the temperature evolution in the property eventvalue in your EVRYTHNG dashboard.

Updated about 1 year ago