Putting It All Together
OK, we're ready to see everything in action. Let's give it a try.
## Running the code
Using the Terminal on the Raspberry Pi, navigate to the folder where you have downloaded and modified the sample code.
Now, execute the command:
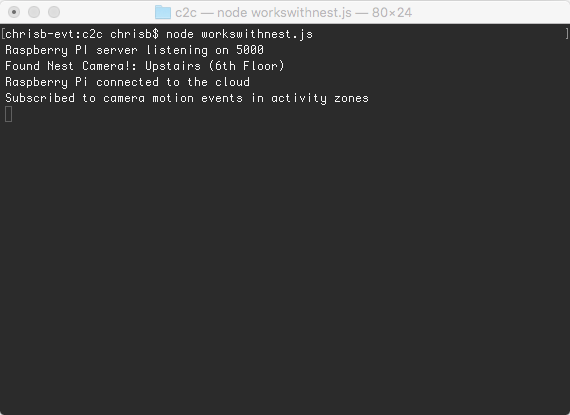
node workswithnest.jsYou should see a few lines of output that show that the connection to the Nest cloud is working and that the camera is found:

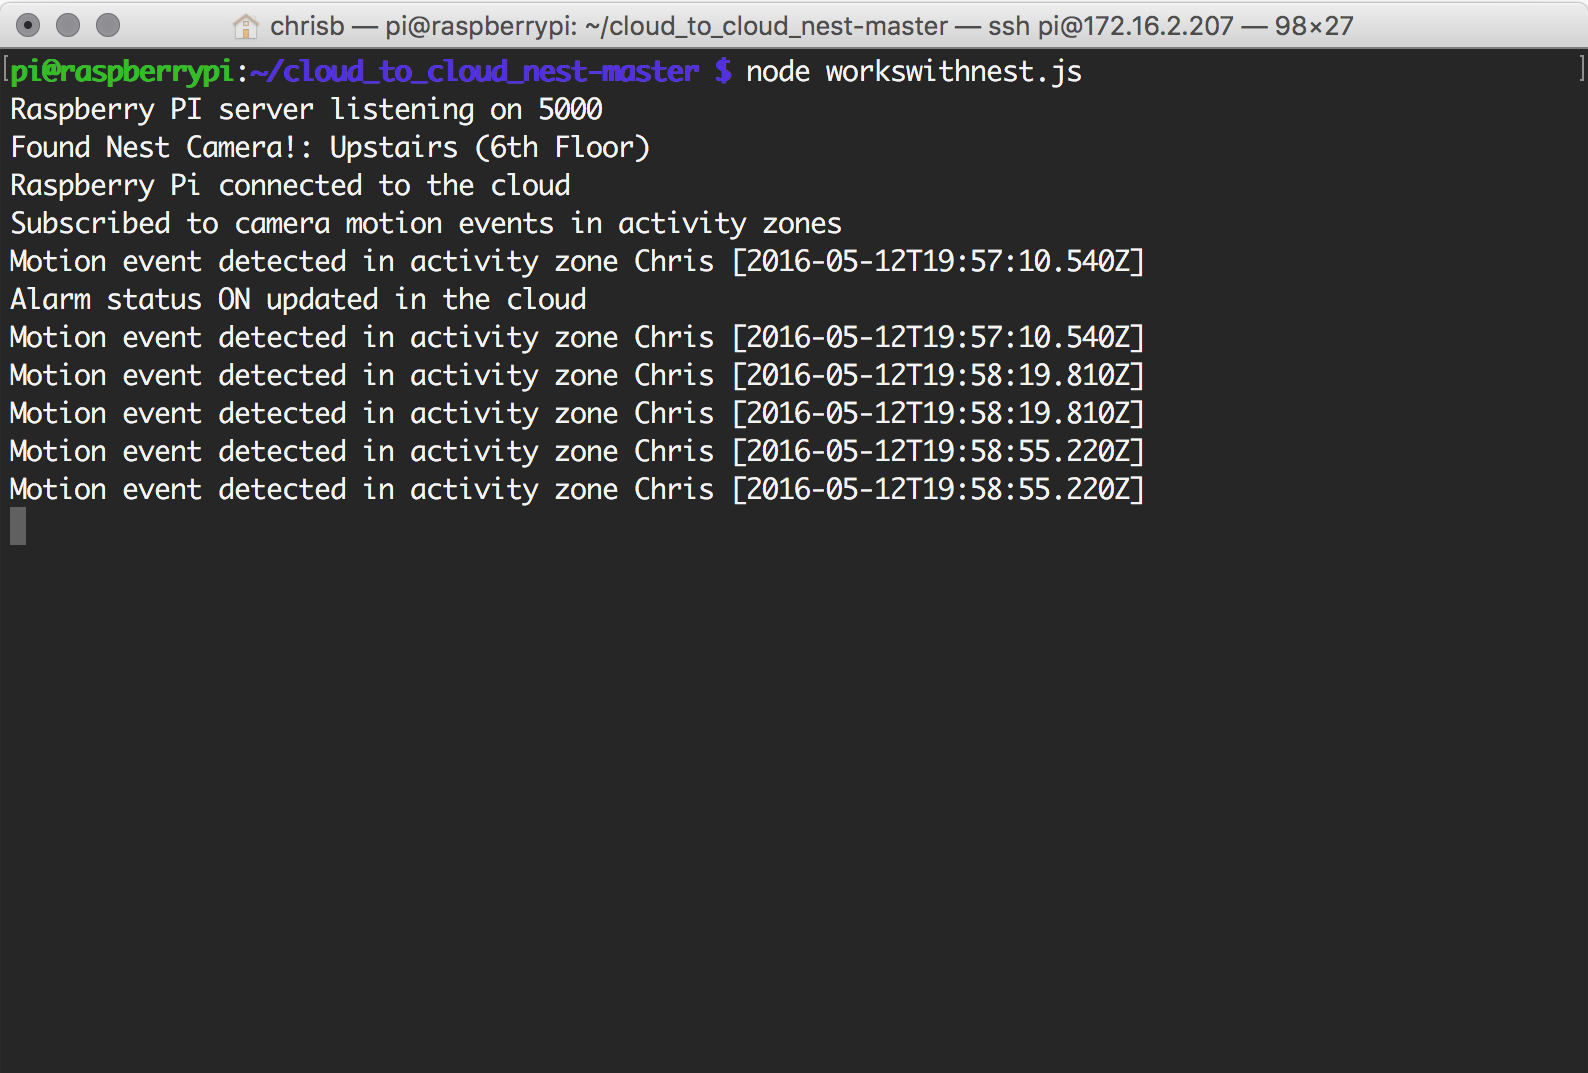
Now, move in and out of any of the Activity Zones you have created. If you are watching along with the standard viewer at home.nest.com, any time you see an Activity Zone event occur, you should also see output in the console that the event occured, and that we’ve set a property in the cloud, alarm, to ON.

Pressing the spacebar resets the alarm to off, and you’re ready for the next event.
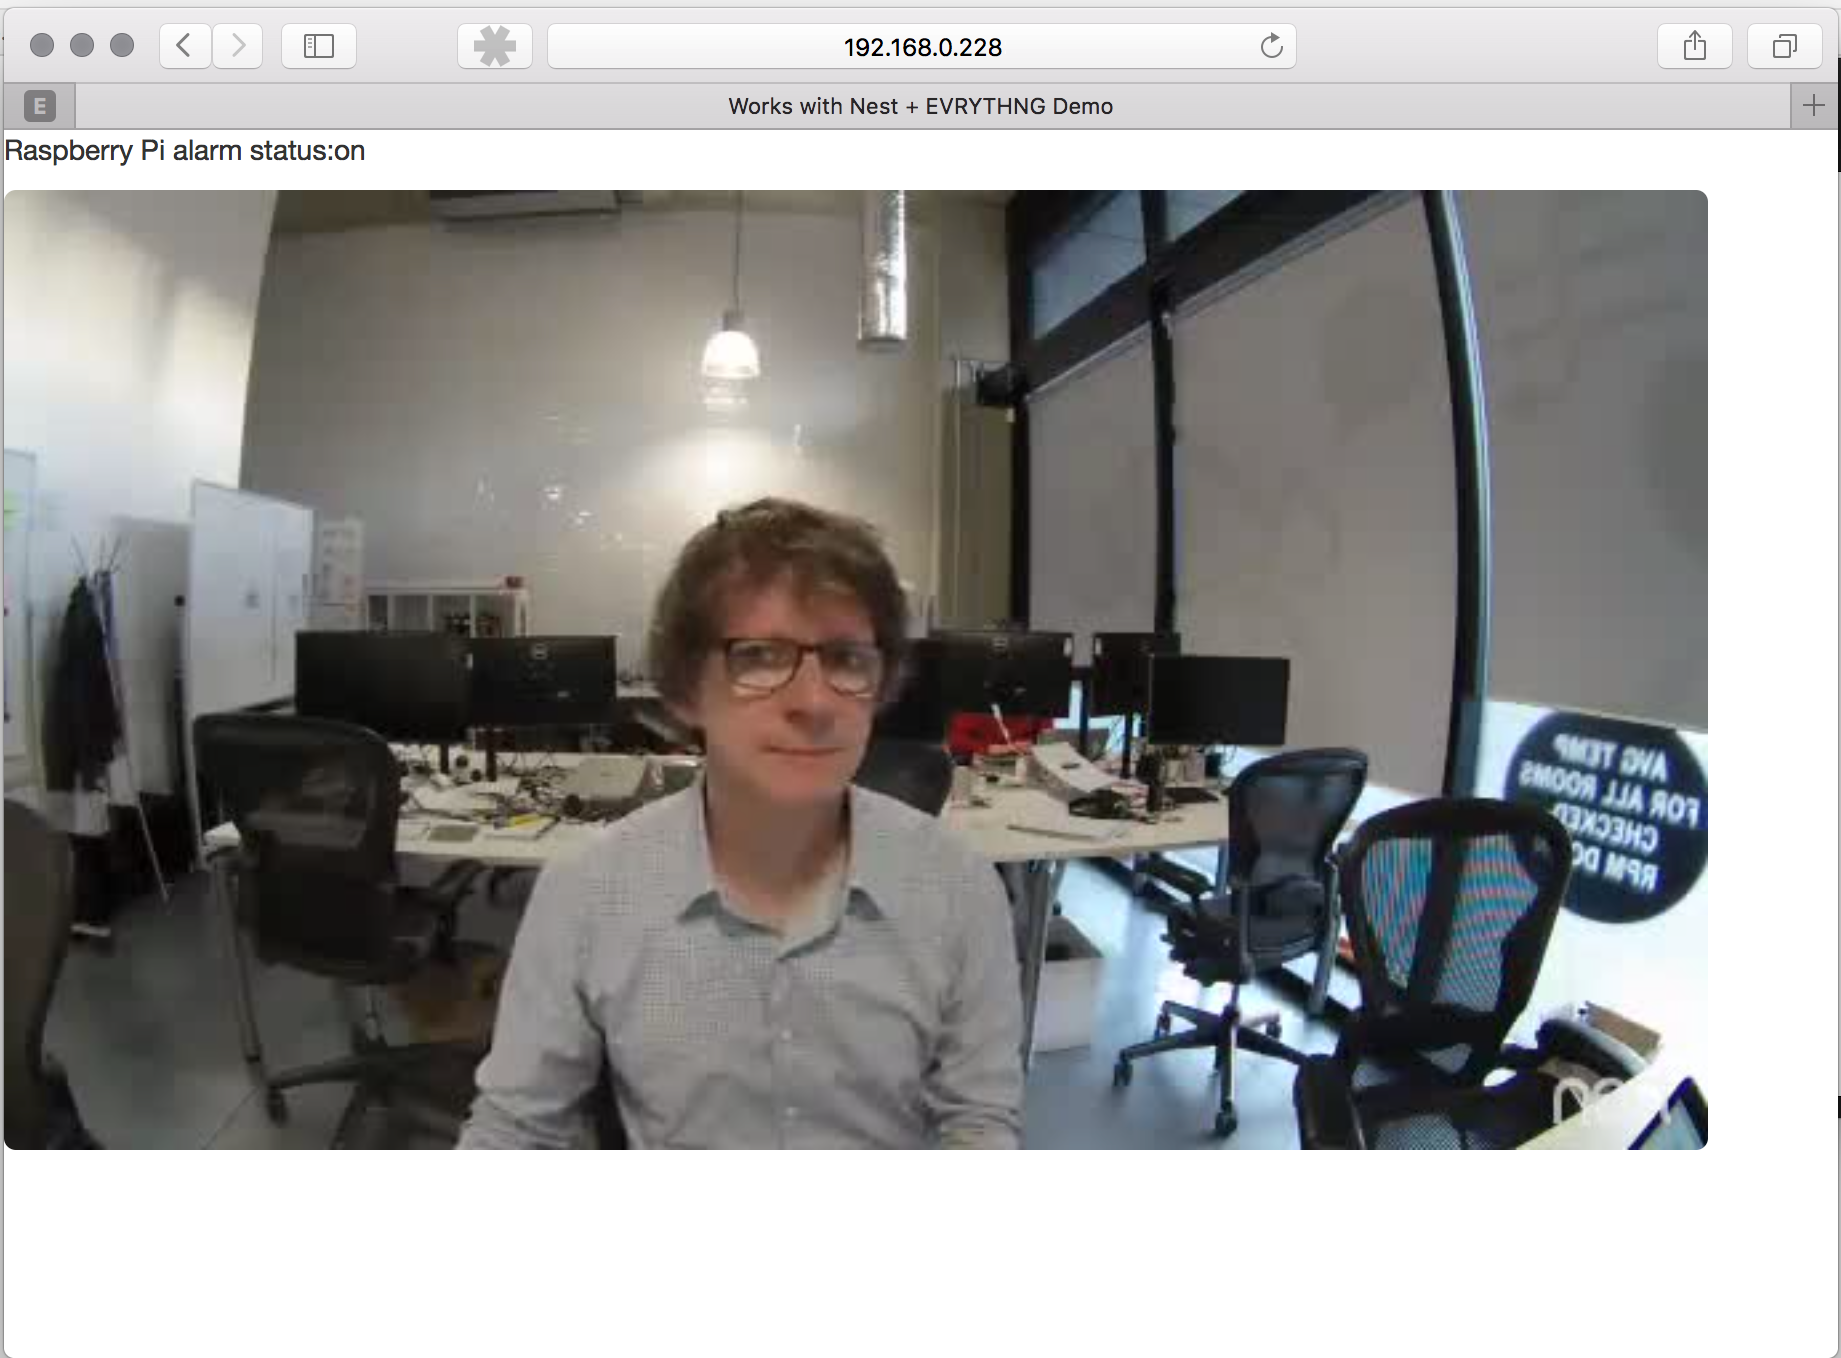
You can also take a look at the server generated by the Node.js application, by visiting https://{Pi IP address}:5000/. It will show the latest image from the camera.

## Next Steps
Now that you've connected the EVRYTHNG Platform with the Nest cloud, you can extend this sample to explore more of EVRYTHNG's capabilities. For example, using our Reactor rules engine, you can make actions conditional - allowing you the ability to set a rule for the EVRYTHNG Platform to only send events during a specific time of day, or based on some other condition.
Updated 8 months ago
