Resource Management
You can create, update, or delete most types of resources within the EVRYTHNG Platform by using the Dashboard instead of (or in conjunction with) the REST API. Although this isn't a practical approach to resource management on a large scale, it's useful for testing an integration or increasing your understanding of the platform through experimentation. In some applications, manual object creation might be the best option (when managing a few Thngs in a custom manner) but this is uncommon.
Projects
You can see the projects in an account from the Overview page or from the Current projects drop-down at the top of the navigation pane.
To create a project:
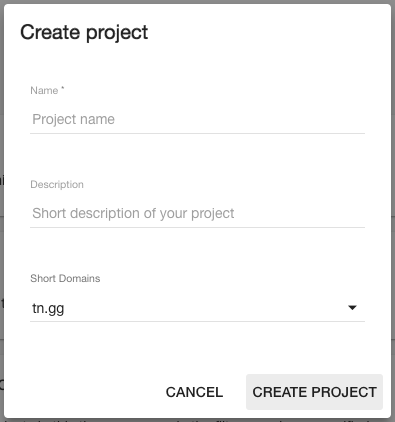
- Click the Create project (+) icon. The Create project dialog opens.
- Type a name and description.
- Click CREATE PROJECT to save the project.
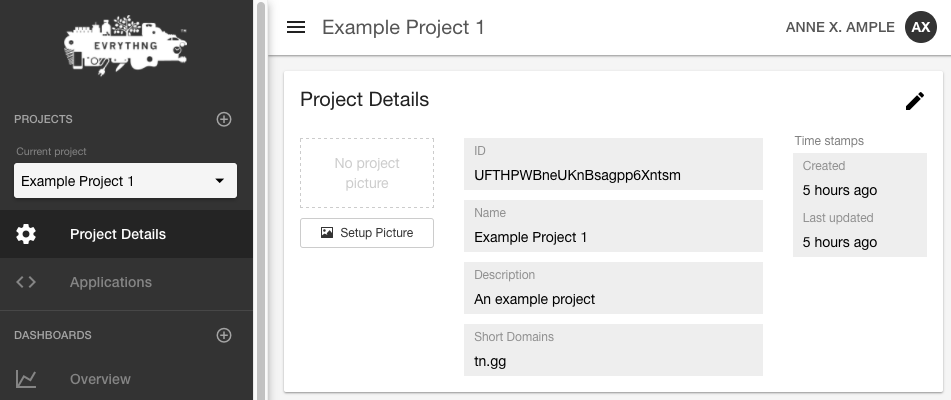
After you create the project, it's automatically selected as the active scoping project. This determines which resources are visible in other views (that is, those resources that belong to the currently selected project). You can also see the generated project ID and activity timestamps and assign a picture.
Applications
After you select a project, the Applications navigation option becomes visible, enabling you to view, create, and update applications in that project. A Platform application represents a mobile or web app that uses Thngs, products, and users.
To create an application:
- Open the Applications page.
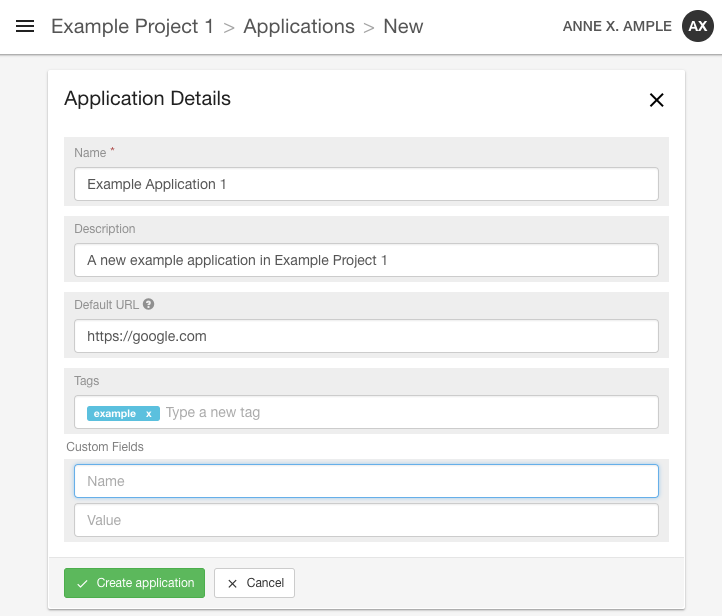
- Click Add new at the top of the page.
- Fill in the required details.
- Click Create application to save the application.
You can see the ID and API keys associated with the new application.
- The Application API key (API Key) is for use in an external application manipulating relevant resources and creating Application Users.
- The Trusted Application API key (Trusted API Key) is a secret key and has access to more endpoints.
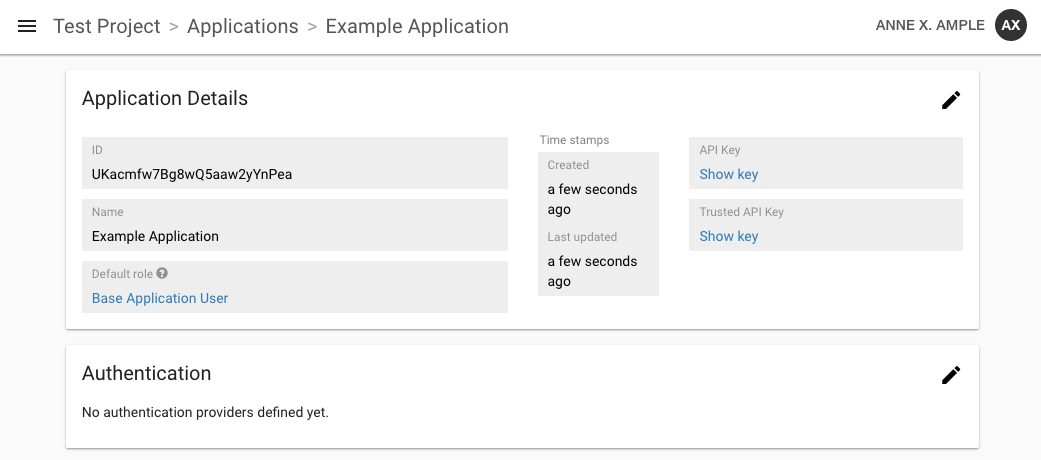
Also on the application's summary page are interfaces for the application's authentication providers, Reactor, and Redirector instances. From here you can write or upload a Reactor script or specify Redirector redirection rules as required.
Products
New product types are created on the Products page in the left-hand navigation pane
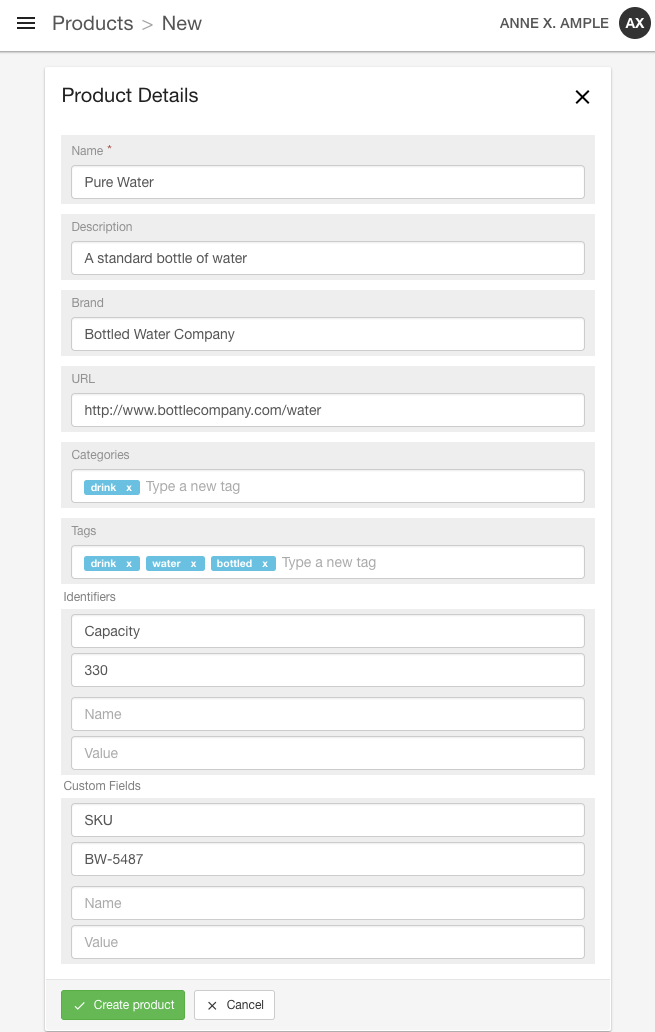
- Click Add new at the top of the page. The Product Details dialog opens.
- Type a Name for the product. This is a required field.
- Fill in any SKU-level data using the Identifiers and Custom Fields sections.
- Click Create product to save the product.
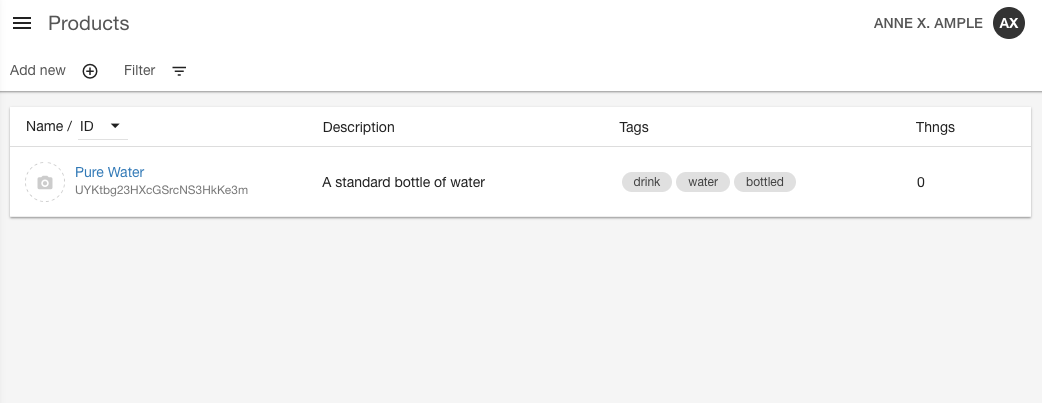
After a product is created, the list of products in the currently selected project is shown with a total of Thng instances of that product.
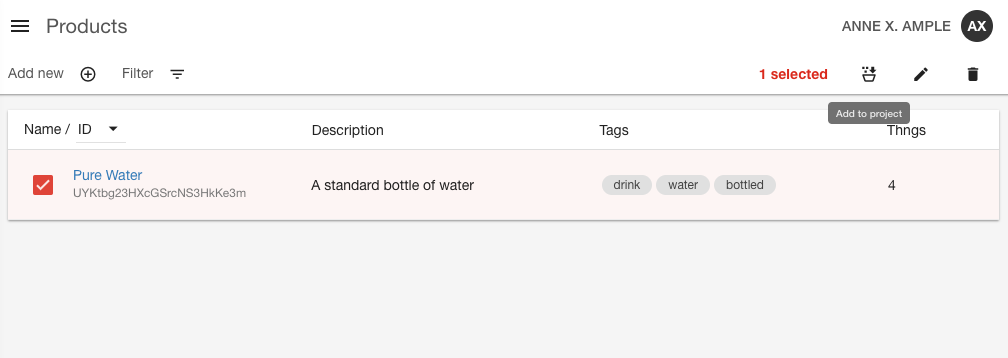
To link a product to a specific project:
- Move the cursor to the photo circle icon. It changes to a checkbox.
- Click the checkbox to enable it, selecting the product.
- Click Add to project in the toolbar. The Add to project dialog opens.
- Select the project to add the product to.
- Click ADD TO PROJECT to save the changes.
If a product isn't part of a project, it's not visible to the project through the API, nor does it appear in the relevant views in the Dashboard.
Note
To remove a product (or Thng) from a project's scope, first select the project in the navigation panel.
To quickly find a product in a log list, you can also click Filter in the toolbar to filter the list of products by ID, name, or tags.
Thngs
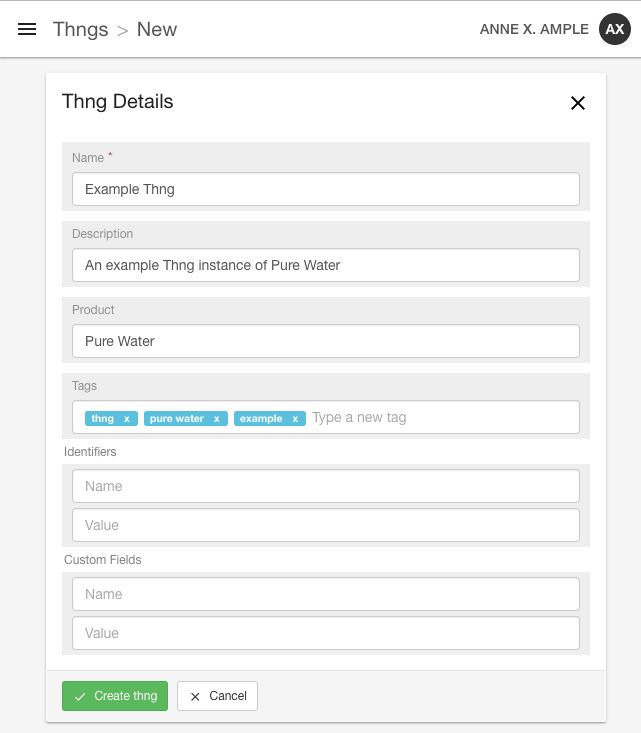
To create individual Thngs in the Dashboard:
- Click Add new in the toolbar on the Thngs page.
- Fill in the required details. You can fill in any SKU-level data using the Identifiers and Custom Fields sections.
- Click Create thng to save the Thng.
After a Thng has been created, you can see it in summary on the Thngs page. If the Thng was created without a project chosen in the navigation pane, you can add it to a project:
- Move the cursor to the photo circle icon. It changes to a checkbox.
- Click the checkbox to enable it, selecting the Thng.
- Click Add to project in the toolbar. The Add to project dialog opens.
- Select the project to add the product to.
- Click ADD TO PROJECT to save the changes.
You can also add the Thng to additional projects by clicking Add to another project in the toolbar.

To remove a Thng from a project, click Remove from project in the toolbar.
To change the project a Thng belongs to, first remove the Thng from its old project and then add it to the desired project.

Action Types
New types of actions can be created from the Action Types page, which initially shows the built-in action types available across all projects and accounts.
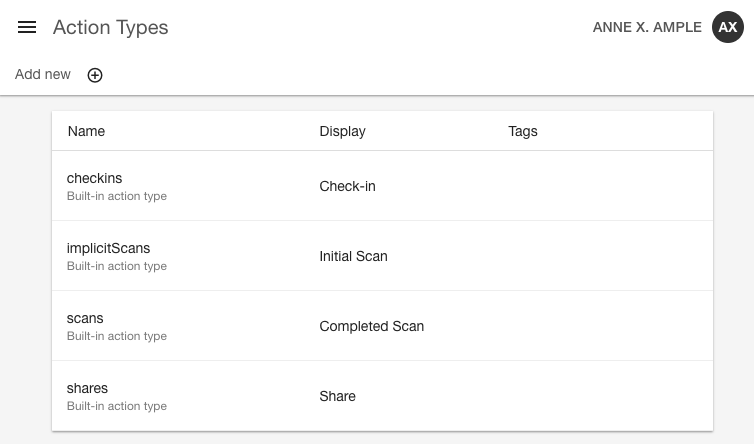
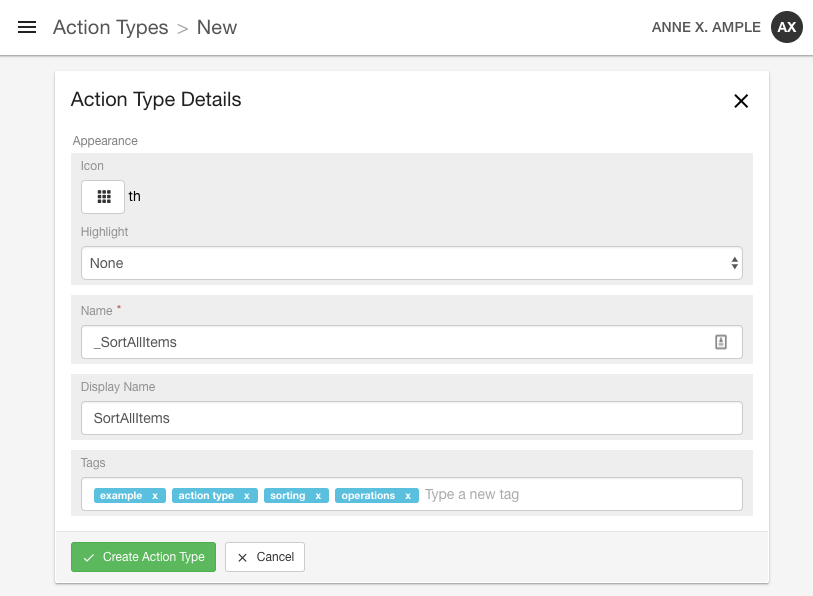
To add a new type of action:
- Click Add new button in the toolbar.
- Fill in the required details, choose an icon, and any tags required. Remember that the Action Type's Name field must start with an underscore ( _ ) character.
- Click Create Action Type to save the action type.
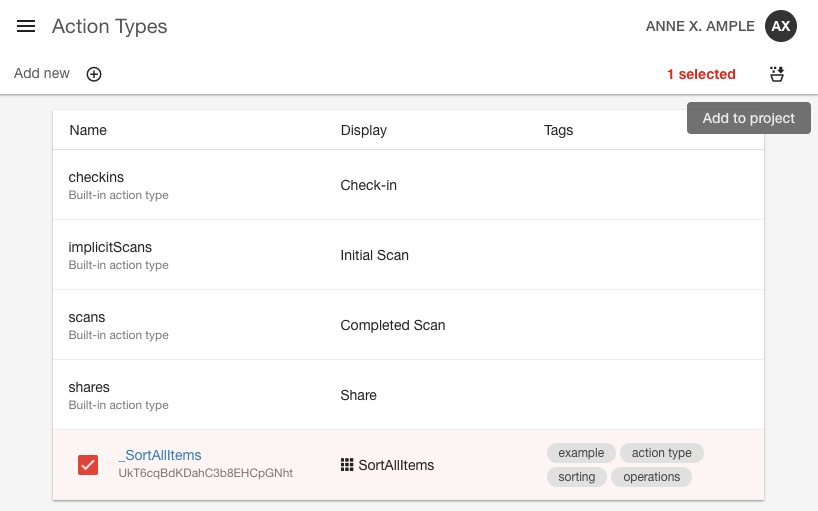
The page lists all the built-in actions and any custom ones you've created, showing their IDs, icons, and tags. You can also scope custom action types to specific projects from this page.
Collections
You use collections to group Thngs, such as individual soda cans packaged as a case. Collections can contain other collections. Manage your collections the same way as you do the other resource types.
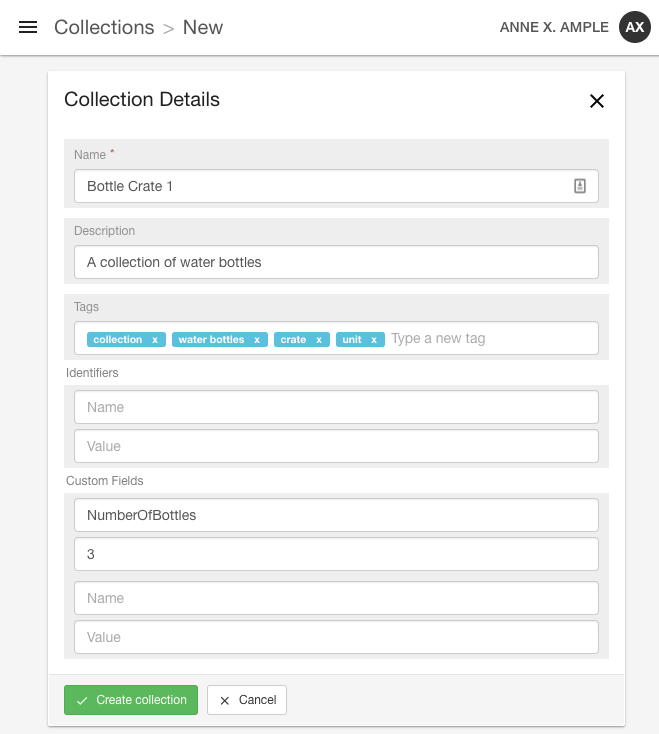
To create a collection:
- Click Add new on the Collections page.
- Type a Name for the collection and complete other fields as needed.
- Click Create collection to save the collection.
After the collection has been created, you can view and manage the Thngs and child collections that are associated with it. Click the Edit (pencil) icon and add Thngs or collections as needed.
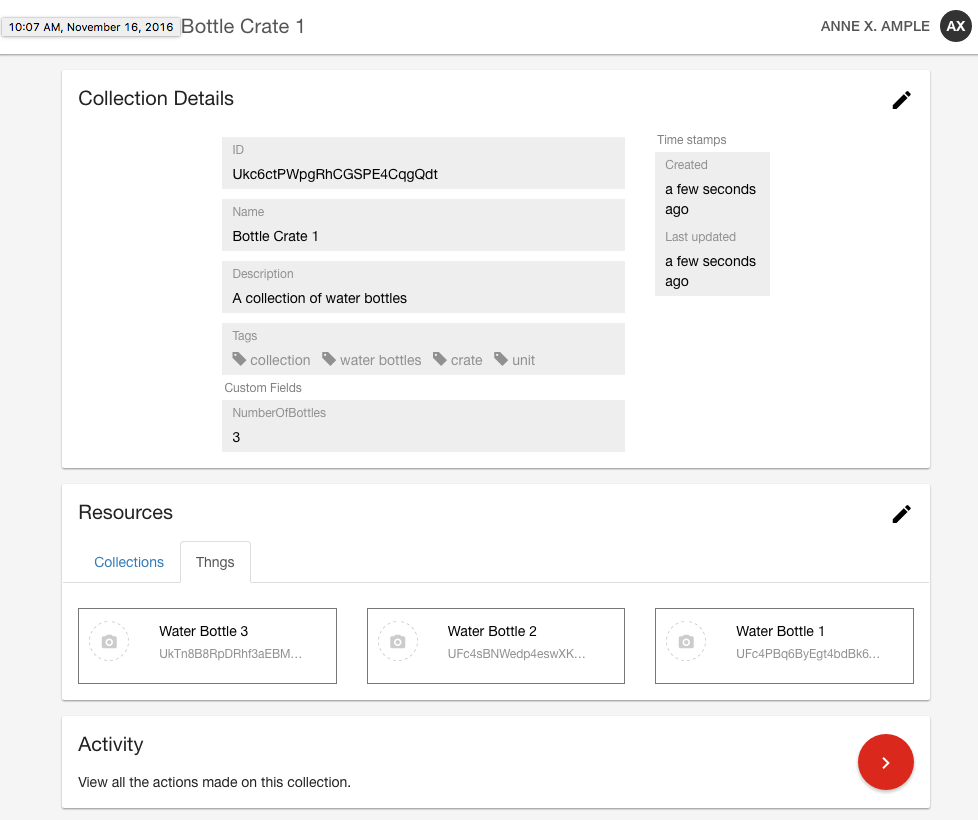
You can view action activity associated with the collection using the Activity section at the bottom of the page. Any actions created on this collection are shown for analysis.
Places
A Place maps geographical coordinates to a known, real-world location (a shop, an office, a park, and so on) where a product or Thng can be interacted with. Use the Places section to manage place resources within an account. Like other resource sections, you can view and filter the complete list here.
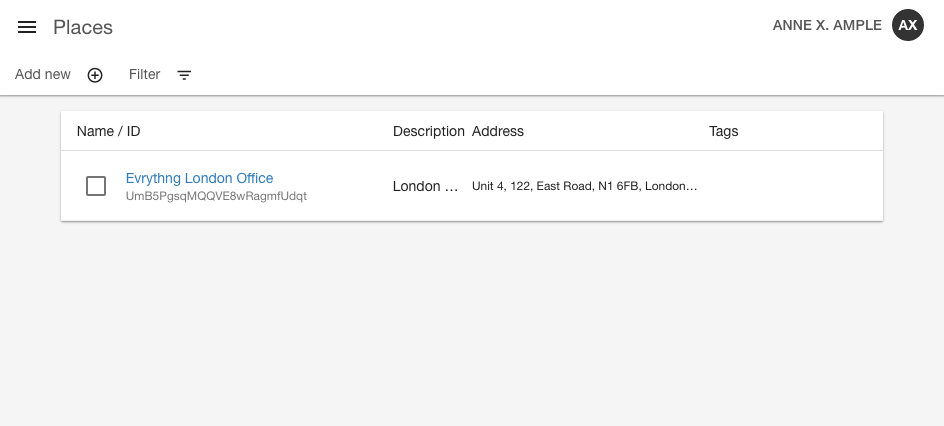
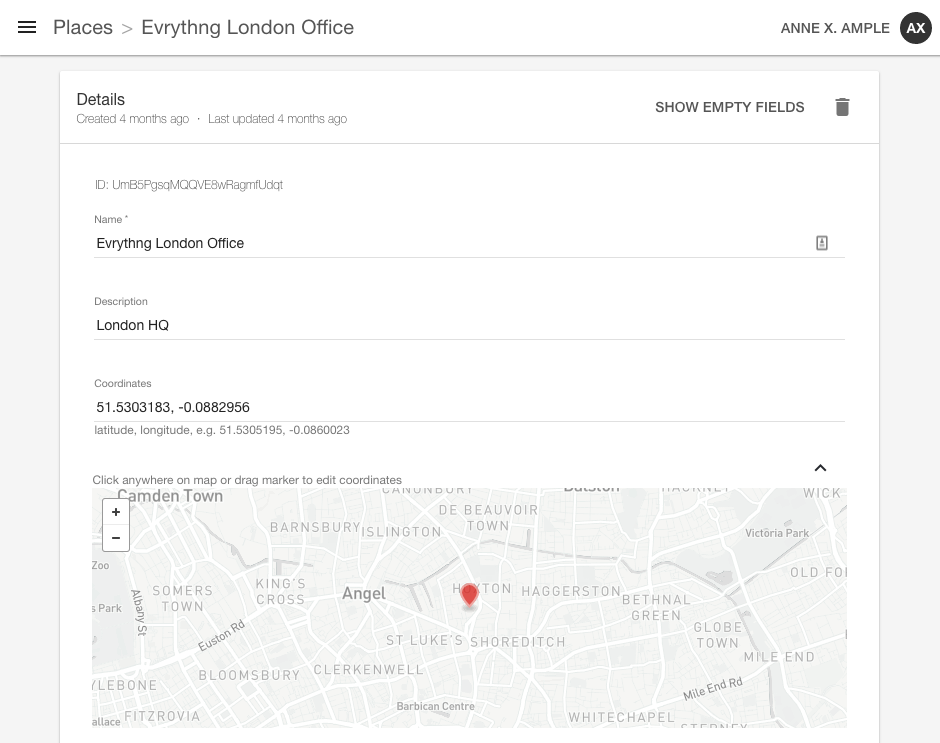
Click Add new to show a form in which you can add fields like name, description, tags, and specific address fields. You can use the map to specify an exact location. The coordinates are filled in automatically when you click a position on the map.
Note
The coordinates and address aren't linked. Updating one doesn't update the other.
Batches
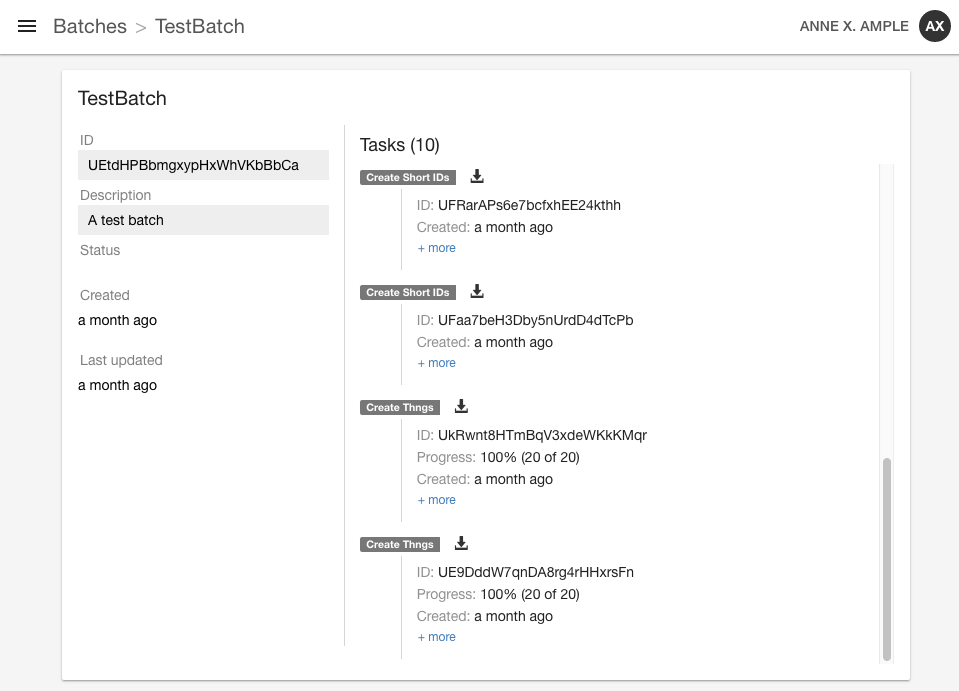
Batches let you quickly and easily generate many Thngs by grouping tasks. If enabled for your account, the Batches page lets you view summary and details of any batches in your account. You can apply filters to find specific batches as needed.
Note
You can't create batches or tasks from the Dashboard itself. Batches must be created through the REST API. See Tasks for more information.

Click a specific batch to see its status history in chronological order, detailing completed Thng-generating or shortID-generating task outcomes and any errors that might have occurred.
Create Copies
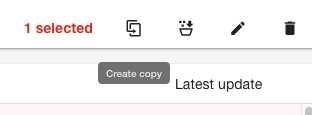
To create copies of Thngs, products, collections, or action types, select one or more item and click Create copy.
You can specify a new name for each copied resource, or you can accept the suggested name.
Updated over 1 year ago
